Photographics: Sabbatier
May 3, 2009 by Jamie
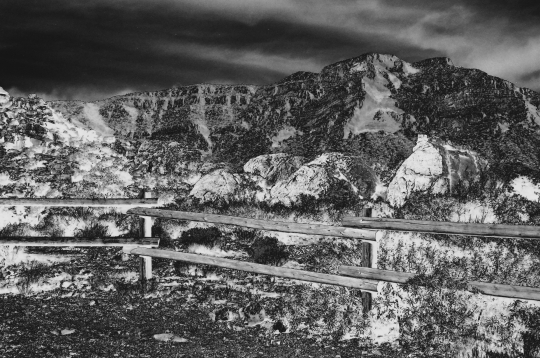
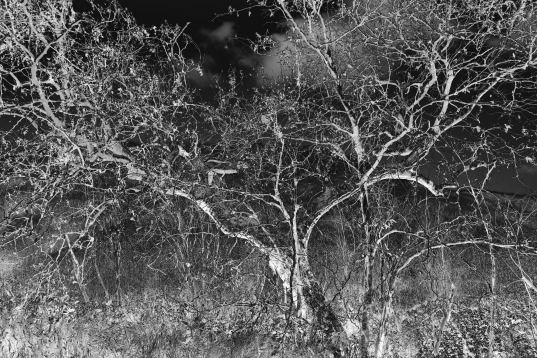
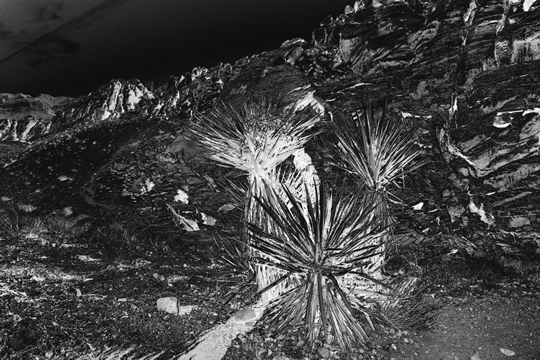
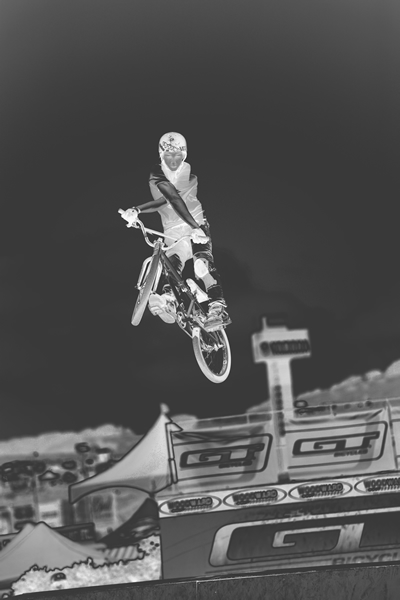
Sabbatier or solarization is an effect in printing in which the tones of the photograph are reversed. For our sabbatier project we were given the choice of either doing the print digitally or in the darkroom. For those of you who are not familiar with the wet darkroom I apologize if you get lost. To get a black & white sabbatier print in the darkroom you would expose a negative normally on photo paper using variable contrast filters. The first time you expose the paper you would only develop it in the developer solution for a short time, then put it in the stop bath and rinse it off. You would then squeegee off the excess water on the print and return it to the enlarger. However, this time you take the negative out of the enlarger and stop the enlarger lens down 1 stop and put the print under it for 1-2 seconds. Then you would just develop, stop, fix and rinse as normal. This process should produce a nice solarized print but depending on your taste you can vary up the exposures. Solarization is much simpler to do digitally, which is how Bryan and I chose to do it. We used GIMP to solarize our images. To solarize a color photo in GIMP you would first desaturate the image so it turns black & white, you then go into curves and change the diagonal line into a “U” shape. After this all you have to do is mess with the contrast a little and there you have it: Sabbatier. Below are our sabbatier images.

Photo by Jamie

Photo by Jamie

Photo by Bryan

Photo by Bryan


Comments
Feel free to leave a comment...
and oh, if you want a pic to show with your comment, go get a gravatar!
You must be logged in to post a comment.