Photo 191-Photomerge
April 18, 2010 by Jamie
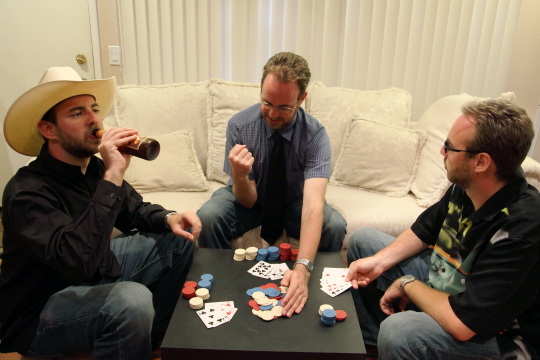
For our third class assignment we were taught how to merge multiple images in Photoshop CS4 to make one single image. Our instructor, Neil Sharum, asked us to shoot a minimum of three images. We could either choose to do a standard panorama or shoot one scene, on a tripod, slightly changing the scene a little with each shot. Bryan and I chose the latter. There are two techniques to merge photos in Photoshop. The first requires you to open up all the images you intend to merge, then go to FILE —> AUTOMATE —> PHOTOMERGE. This merges the three images, however the final merge can sometimes look ridiculous, for example, my final photomerge had no subjects in it. After the merge is done you most likely have to do some tweaking. Bryan and I both had to paint our subjects back into the picture. You do this by using the paint brush tool on the layer mask that is created for each photo.
The second way to merge photos is to again open all the images you would like to merge but this time open them side by side. Choose the photo that you would like to be your background image and drag the other photos on top of it. Then in the LAYERS tab create layer masks for the two photos that you dragged on top of your background. Use the paint bucket tool to make these layer masks black and then with the paint brush tool paint your subjects back in. This sounds completely complicated but it is actually very simple as long as the photographs you are using are photographed correctly. Below are the images Bryan and I created.


Comments
Feel free to leave a comment...
and oh, if you want a pic to show with your comment, go get a gravatar!
You must be logged in to post a comment.