


Photo of the week 9-27-2017
September 27, 2017
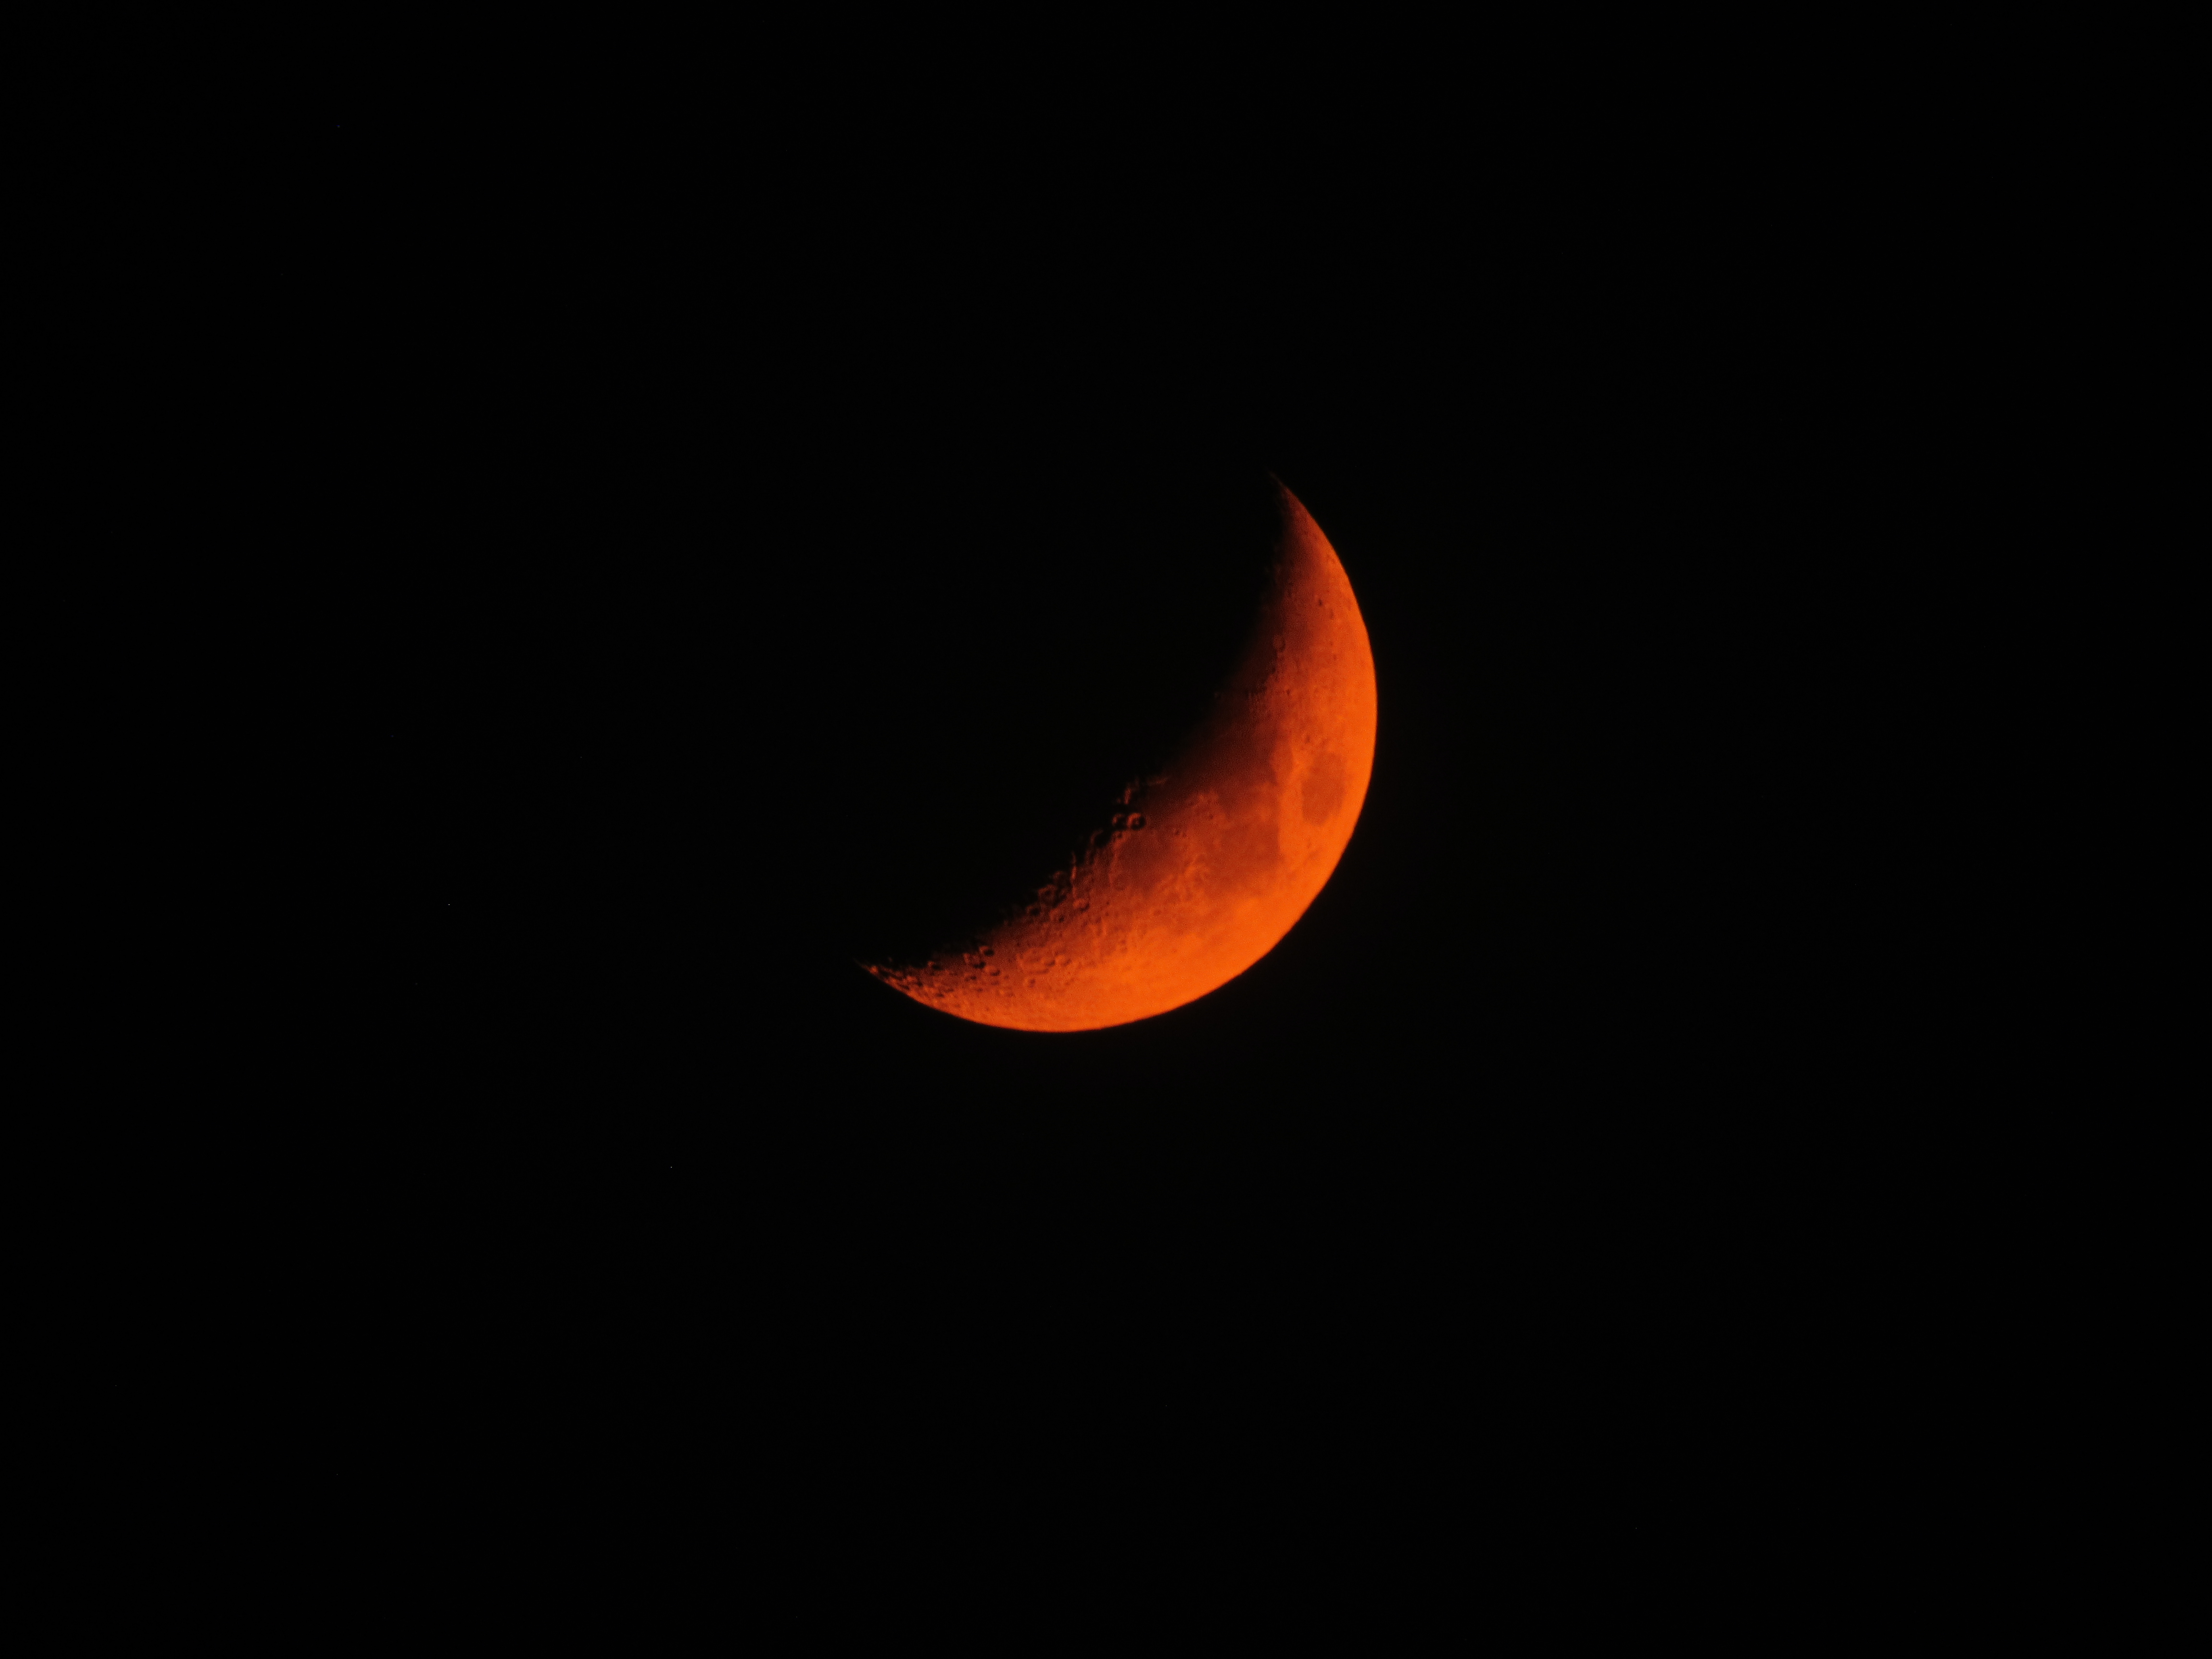
Blood orange moon due to Canyon Fire smoke. Taken with no filter and no post processing.
This week there was a lot of smoke blowing over at altitude from the Canyon Fire just south of the 91 freeway and east of the 241. This caused the moon to glow a color very similar to a blood orange. Jamie decided to capture this image at first using a mirrorless camera with a moderate zoom. The results were that the image didn’t do justice to what her eyes could see. She called me up and I suggested using the Canon SX530HS. This camera has drawbacks to be sure. For one thing it shoots only in jpeg and it has a very small sensor. However, the 50x optical zoom has a 35 millimeter equivalent focal length of 1500mm. On a full frame SLR this lens would be so big, you couldn’t easily pick it up but on this camera it’s all lighter than any SLR body.
So Jamie set up the camera on our gorilla pod, zoomed in all the way and used the timer function to eliminate movement from pressing the shutter. Then she set the white balance to daylight and took the shot you see above.
Photo of the week 4/1/2017
April 1, 2017
While we were in Sedona it started snowing so I stepped out of the cabin to photograph the newly fallen snow. When I came to the window, Jamie was holding Silas and he was waving to me.
In order to get this shot, I over-exposed by 1 and 1/3 stops. This allowed the bright lights in the background to become even brighter while allowing the back lit subjects to appear normally exposed. This is because I was using evaluative metering that looks at the whole scene. If I used spot metering, I could just point the center at the subjects and half press the shutter to lock in the exposure.
I was standing outside in the snow when shooting this and I actually shot it quite crooked but fortunately rotating photos after the fact is very easy. I like the framing that the window ads as well as the feeling of looking in from outside. Maxx is just a dim shadow in the lower right.

Jamie, Silas, and Maxx in the window
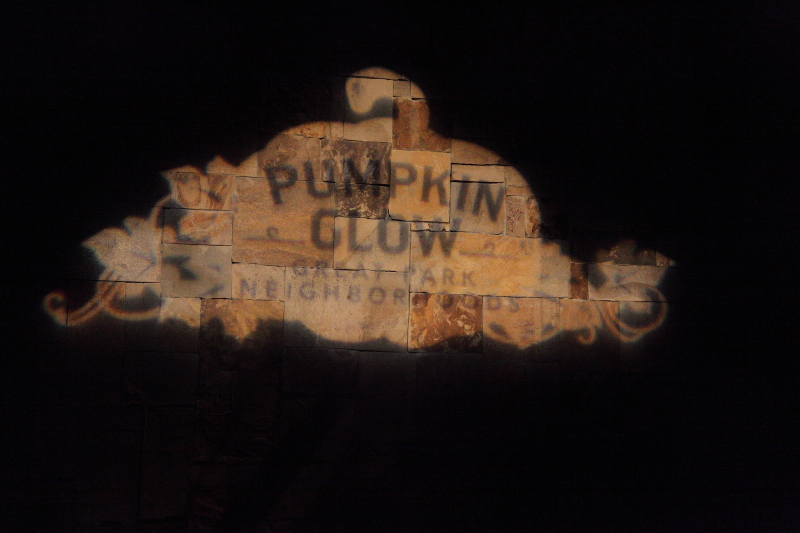
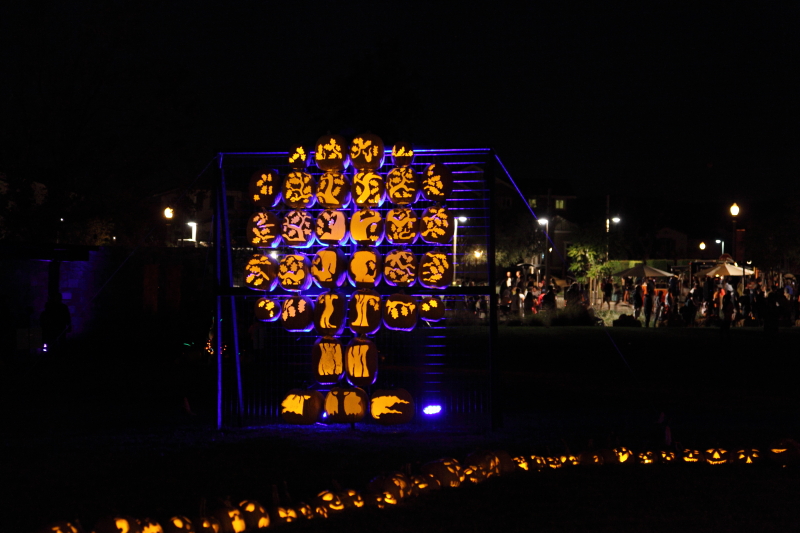
Night Photography (at the Pumpkin Glow)
October 30, 2014
Night photography requires some special techniques if you want to preserve the effects of lighting while still getting a decent exposure. Many people will trust that the camera knows it’s night time and will give you a correct exposure. However most cameras will still try to meter the entire exposure as if it was lit by daylight and therefore give you an incorrect exposure for some or all of the scene. In addition, most will try to pop up the flash and fill in the foreground with fill light even if that is not what you are photographing.
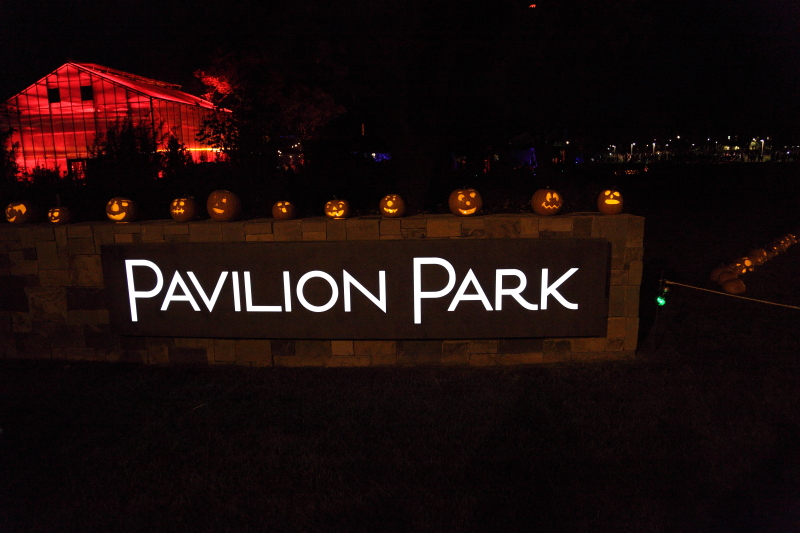
 The first step is to place your camera into a mode that takes back some of the control over the settings. In a DSLR or mirrorless camera you can use a Program, Aperture Priority, Shutter Priority, or Manual setting. On a point and shoot, turn off the flash and adjust the settings available to you. Adjust the ISO high if you will be shooting handheld or bring a tripod or other gear to mount your camera if you will have plenty of time to take the shot. Night photography is best done with the camera supported but sometimes that is not possible. At the Pumpkin Glow for instance, the crowds meant we had to keep on the move so a tripod would not have worked out. Adjust the ISO as high as your camera can handle while keeping image quality good. For instance on the 5D Mark II I put it at 6400 but on a cropped sensor camera I would probably limit myself to 3200 or 1600.
 Next, if you are shooting in any mode other than manual, you must concern yourself with the metering and then choose how much to underexpose the metering. A simple trial and error can work here and I found that most shots needed me to underexpose by 2/3 of a stop with some requiring a full 2 stops of underexposure. The reason you need to underexpose is that most of your photo should end up black or very dark with just the subject exposed. However, if you shoot without underexposing, the camera is going to try to let in enough light to make that black look like a dull grey. Not only that but your shots will end up blurry most likely unless you are in shutter priority and have the shutter set to at least 1 over the focal length. Underexposing tells the camera to let in less light which is what is desired here.
 With the settings figured out, the next challenge is actually taking the shots. If you are shooting unsupported, you will still need to concentrate on holding the camera with your arms in and your camera pressed to your face to achieve the most stable platform for taking photos. If you have image stabilization, then this will help you out considerably. Most likely the subject is not moving at all or very much so the camera movement is the only variable that needs to be controlled.
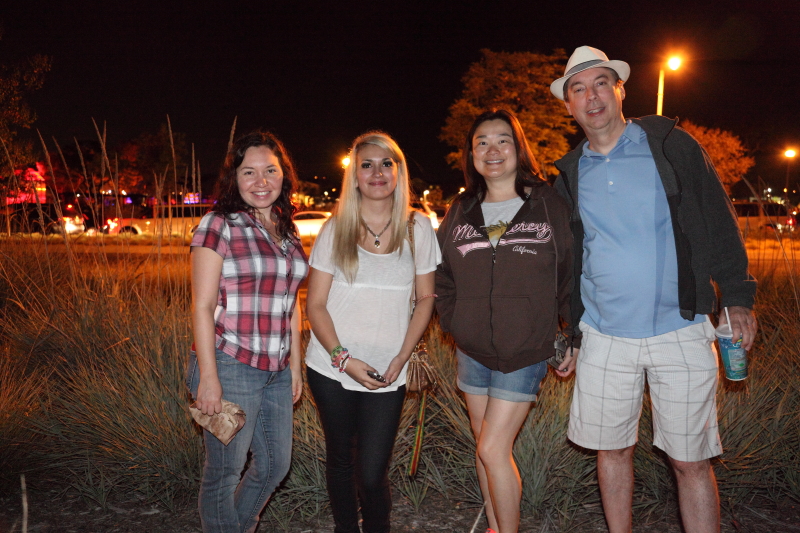
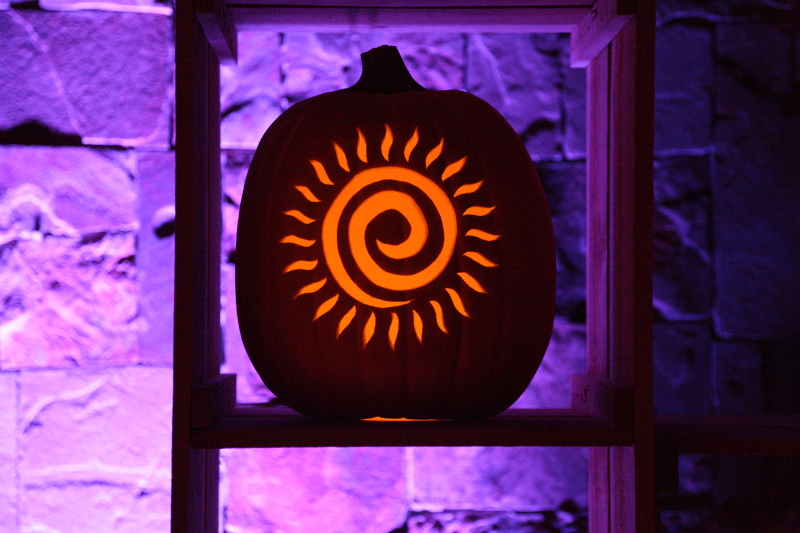 Finally, sometimes when you are shooting at night, you do want to fill the foreground with a fill flash because you are shooting people. In this case, off camera flash is best, external but on-camera is next, and pop-up or built in flash is the least desirable. The reason is simple; red-eye. The further the light source is from the lens, the less prominent red-eye is. Some flashes will pre-fire to dilate the subject’s pupils before the photo. Whatever you use, be aware of the features and turn on red-eye reduction if its an option. Keep the subjects close, but not too close. This way they will not be overpowered by the flash, nor out of its reach.
Round Canyon Wildflower Hike
April 28, 2011
To see more of my photos from Round Canyon check out the GALLERY.


Top Ten Reasons To Avoid the Nikon Coolpix P500 – Bryan’s Review
April 25, 2011
To see more test shots from the Nikon P500 check out the GALLERY.
Occasionally a company known for quality of build as well as design will unveil a product that is so ill conceived and even more poorly implemented that it casts a shadow on the entire reputation of the company. For Nikon, that product is the Coolpix P500. What follows is born from my time owning this contraption and experiencing first hand just how wrong a product can get.
1)The Nikon Coolpix P500 tries to do everything but does not do anything well. This camera is packed with more features then I care to list. The manual is electronic only, most likely because if they printed it, it wouldn’t fit in the box. The features all sound nice but in reality are almost universally so poorly implemented to be useless.

Photo is unedited. F6.3 at 1/30 of a second. ISO 200

Photo is unedited. F5 at 1/80 of a second. ISO 200

Photo is unedited. F6.3 at 1/100 of a second. ISO 200

Photo is unedited. F4 at 1/640 of a second. ISO 200

Photo is unedited. F3.7 at 1/1500 of a second. ISO 200

Photo is unedited. F3.4 at 1/200 of a second. ISO 200

Photo is unedited. F4.2 at 1/1250 of a second. ISO 200

Photo is unedited. F5 at 1/100 of a second. ISO 200

Photo is unedited. F4.2 at 1/320 of a second. ISO 200

Photo is unedited. F3.4 at 1/1250 of a second. ISO 200
In conclusion, stay away from the Nikon Coolpix P500 like a medieval peasant would avoid the plague. I know for a fact that Nikon is more than capable of making fine cameras that produce wonderful photos. This is not one of those cameras. I would go so far as to say that this camera is single-handedly destroying Nikon’s reputation around the world and they would be best served by taking it off the market.
Jamie and I dumped this contraption and picked up the Canon T2i instead. This is mostly because we already have a collection of fine Canon lenses. We both love the camera and coincidentally the camera fits in the same case we picked up for the P500. If you can afford the price difference, get that camera instead because you will not regret it.
Shooting During the Golden Hour
April 21, 2011
Last weekend Bryan and I had the pleasure of photographing the Painted Rocks Half Marathon in San Diego. The race started at Rancho Bernardo Community Park and wound halfway around Lake Hodges. The race started at 7am but because we live in Orange County we left our house at 3:30am to make sure we had enough time to pick out our photo spots. We got there around 5am when it was still dark and cold. I consider myself a morning person, but not a pre-dawn person. I haven’t seen the sunrise in a long time but as a photographer I know that this is one of the best times to take photos. I felt grateful to the event that I had to drag myself out of bed so early as I would never do this on my own just to take photos. The time known as the Golden Hour is the first and last hour of sunlight each day. It is known for it’s long shadows and warm beautiful hues of light. The spot I chose to shoot from was at a suspension bridge that runs across the lake and leads to the rest of the trail. As I waited in the cold for the sun to rise I took a few shots from the bridge looking out to the 15 freeway. I generally don’t carry a tripod with me so in order to get a nice slow shutter speed shot I placed my camera on the bridge’s railing (while still wearing the neck strap), set my shutter speed to a couple of seconds and enabled the mirror lockup. This prevented camera movement from when I pressed the shutter button which is a good trick when you find yourself without a tripod. Once the sun started to rise I forgot how much I hated early mornings because the resulting shots came out so well. You can see more of my Golden Hour shots in the GALLERY.

