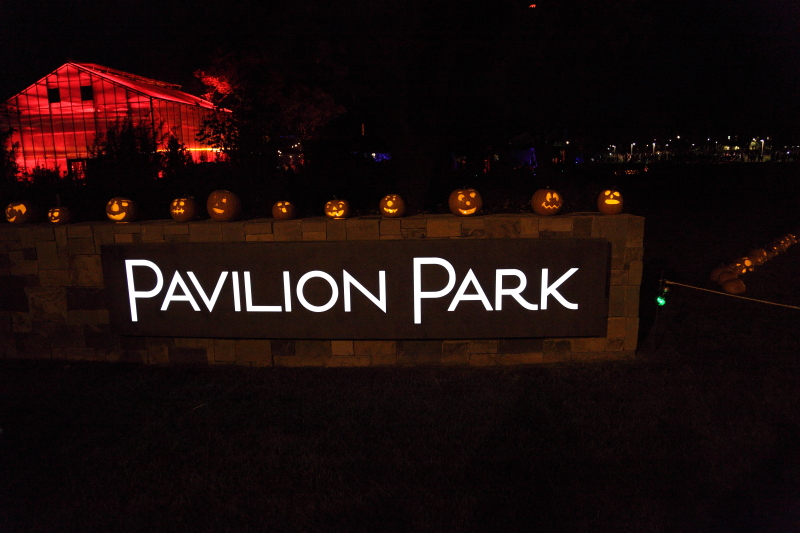
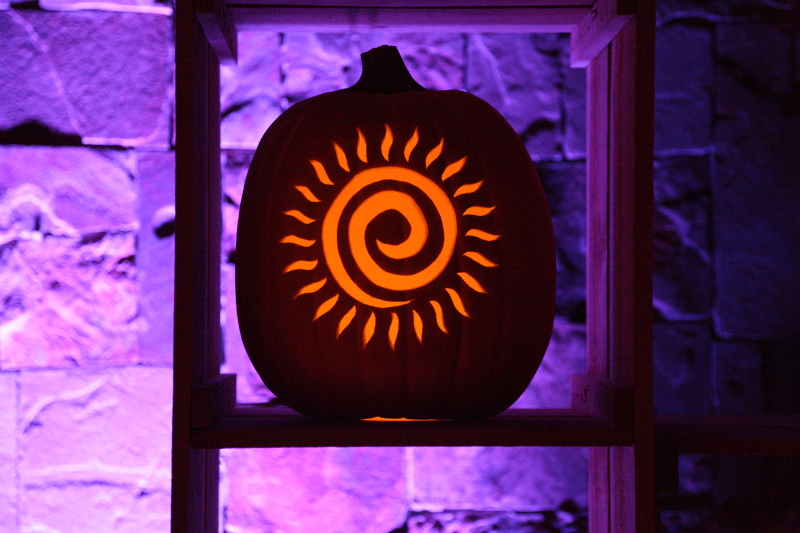
Night Photography (at the Pumpkin Glow)
October 30, 2014
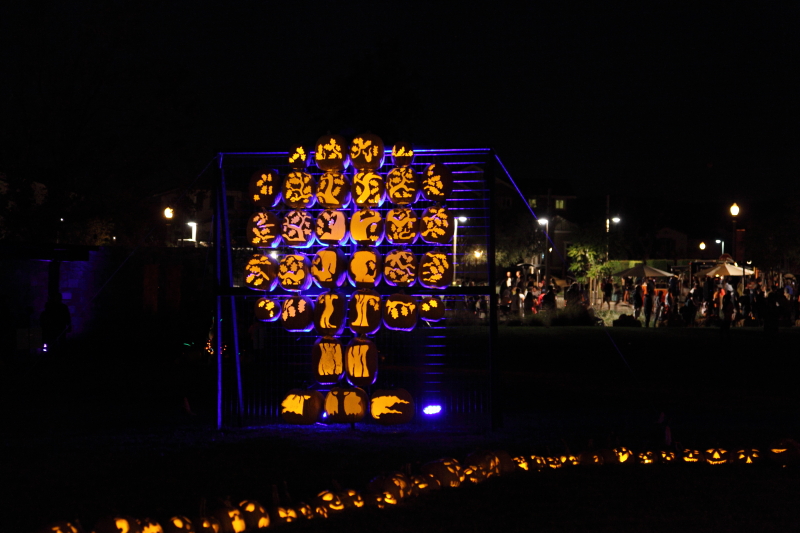
Night photography requires some special techniques if you want to preserve the effects of lighting while still getting a decent exposure. Many people will trust that the camera knows it’s night time and will give you a correct exposure. However most cameras will still try to meter the entire exposure as if it was lit by daylight and therefore give you an incorrect exposure for some or all of the scene. In addition, most will try to pop up the flash and fill in the foreground with fill light even if that is not what you are photographing.
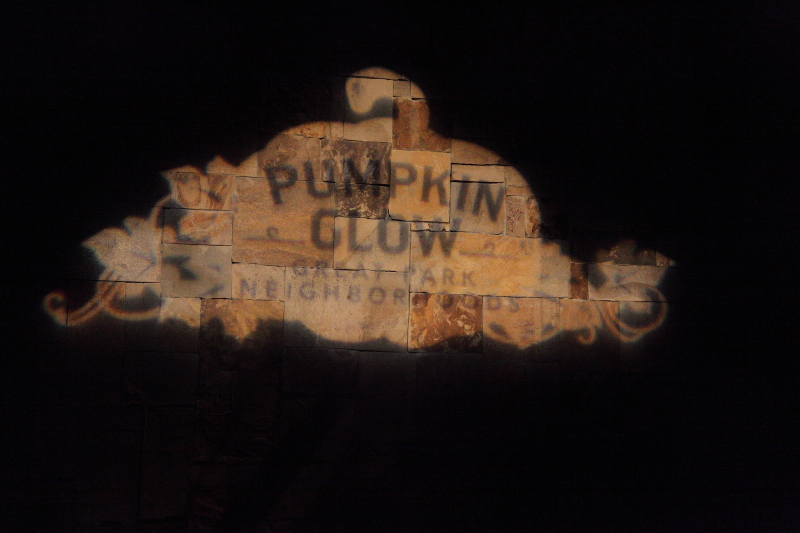 The first step is to place your camera into a mode that takes back some of the control over the settings. In a DSLR or mirrorless camera you can use a Program, Aperture Priority, Shutter Priority, or Manual setting. On a point and shoot, turn off the flash and adjust the settings available to you. Adjust the ISO high if you will be shooting handheld or bring a tripod or other gear to mount your camera if you will have plenty of time to take the shot. Night photography is best done with the camera supported but sometimes that is not possible. At the Pumpkin Glow for instance, the crowds meant we had to keep on the move so a tripod would not have worked out. Adjust the ISO as high as your camera can handle while keeping image quality good. For instance on the 5D Mark II I put it at 6400 but on a cropped sensor camera I would probably limit myself to 3200 or 1600.
 Next, if you are shooting in any mode other than manual, you must concern yourself with the metering and then choose how much to underexpose the metering. A simple trial and error can work here and I found that most shots needed me to underexpose by 2/3 of a stop with some requiring a full 2 stops of underexposure. The reason you need to underexpose is that most of your photo should end up black or very dark with just the subject exposed. However, if you shoot without underexposing, the camera is going to try to let in enough light to make that black look like a dull grey. Not only that but your shots will end up blurry most likely unless you are in shutter priority and have the shutter set to at least 1 over the focal length. Underexposing tells the camera to let in less light which is what is desired here.
 With the settings figured out, the next challenge is actually taking the shots. If you are shooting unsupported, you will still need to concentrate on holding the camera with your arms in and your camera pressed to your face to achieve the most stable platform for taking photos. If you have image stabilization, then this will help you out considerably. Most likely the subject is not moving at all or very much so the camera movement is the only variable that needs to be controlled.
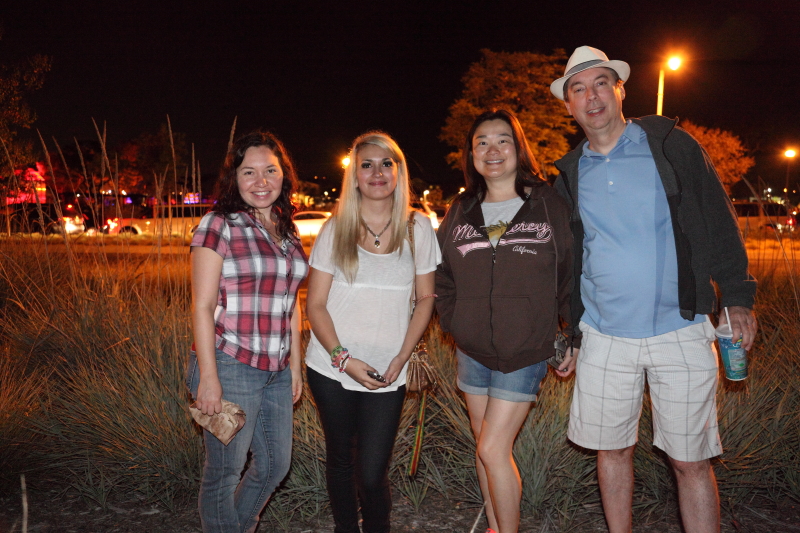
 Finally, sometimes when you are shooting at night, you do want to fill the foreground with a fill flash because you are shooting people. In this case, off camera flash is best, external but on-camera is next, and pop-up or built in flash is the least desirable. The reason is simple; red-eye. The further the light source is from the lens, the less prominent red-eye is. Some flashes will pre-fire to dilate the subject’s pupils before the photo. Whatever you use, be aware of the features and turn on red-eye reduction if its an option. Keep the subjects close, but not too close. This way they will not be overpowered by the flash, nor out of its reach.
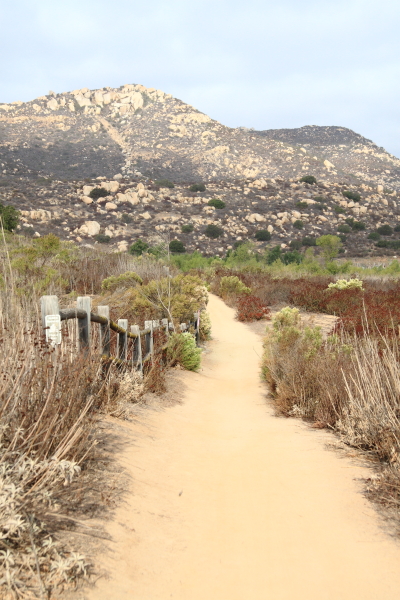
Lake Hodges Trail Fest 2014
October 28, 2014
Congratulations to everyone who came out on Sunday to run (or cheer on the runners) of the 2014 Lake Hodges Trail Fest. Your photos have been posted! Click on the link below to see your race photos as well as your race results on Off Road Pursuits. As always a big thank you to the race director Paul Jesse for putting on such a great event.