Zone Systems
December 15, 2008
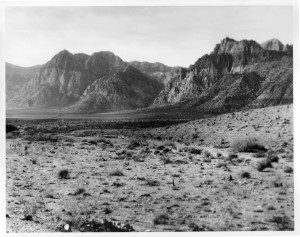
Red Rock Canyon by Bryan
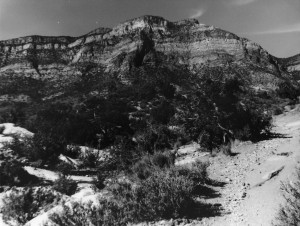
Last Thursday Bryan and I finished our last class of the Fall semester; Zone Systems. This class was taught by Greg Rager who is an expert in the old processes of photography. The zone system is not easily explained but I will make an attempt to make sense out of it. Basically it only applies to black & white photography. This class is completely film based and although Rager would have preferred having the class using medium format cameras that simply was not feasible so we used 35mm. There are eleven zones in black & white photography ranging from Zone 0 to Zone 10. It ranges from white to black, however there is no such thing as white and black it is only shades of gray. So basically it ranges from really light gray to really dark gray. Zone 5 represents 18% gray, which is what your camera meter reads…you following me so far? The purpose of zone systems is to eventually make a good print, but in order to make a good print you have to know how to make a good negative and of course in order to get a good negative you have to know how to expose for the different zones of detail when taking the photograph.
Red Rock Canyon by Jamie
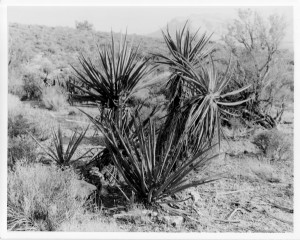
The zone system works best on landscapes or any seen where there is not a lot of movement. It’s all about getting details in the shadows and also in the highlights. Rager recommends using a spot light meter when photographing because you can get readings for the different zones and try to find a happy medium. You should probably make sure your camera’s shutter and light meter are working before photographing as that can make a huge impact on your photo. Rager actually had some people do shutter speed testing on their cameras to see what actual speed their shutters were firing at. Some peoples cameras were way off. Unfortunately I didn’t get a chance to do this because I ran out of time, although I should have because my Pentax 35mm is ancient. Bryan didn’t have this problem as he has a newer A2E.
Red Rock Canyon by Bryan
After taking a whole roll of film we were expected to develop it ourselves and while most people did this we chose not to. There is a lot of work that goes into exposing a roll of film, like making sure your chemistry isn’t bad, the temp of the chemicals is not too hot or too cold and agitating properly. Now because Bryan and I work full time and have a very hard time staying up really late we decided to go the easy route and have our film developed at Pro Photo Connection. Rager was fine with us doing this however, he did have some concerns about how they might develop the film. Because there are so many factors that go into making a good print the developing process could easily be screwed up if someone at the lab doesn’t do something as simple as agitate for a long enough time. Many people in the class screwed up and had to develop multiple rolls of film. We just didn’t have that kind of time.
Irvine Regional Park by Jamie
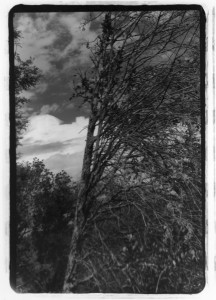
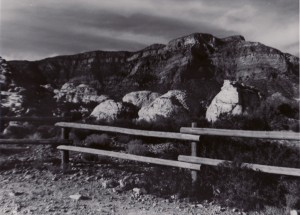
A rule that Rager taught us was to expose for the shadows and develop for the highlights. You always want to make sure you capture the details in the shadows. You never want your negative to be too thin. A thin negative means you have not exposed enough and that will translate to a low contrast print. Likewise you never want your negative to be too dense. A dense negative means you overexposed and your print will be too light. If your negative isn’t at the extreme on either side of the spectrum it can be corrected in the printing process with dodging and/or burning. Dodging a negative simply means you are subtracting light when exposing the image to the photo paper. For example, if you have a print that needs 10 seconds of light exposure but a certain area is too thin and needs less exposure so you can get details in the shadows. You would simply set your timer for 10 seconds and let it expose the whole print for a few seconds and then cover up the thin area with some kind of apparatus for the rest of the time so it won’t get as much light. Burning is just the opposite, if you have an area that is too dense and needs more light you would then expose the whole print for whatever time is best for the normal areas of the print then cover those up and expose the dense areas to more light to get more details in the highlights. Does this sound like too much work? Well it is! That’s why it is so important to get the negative right in the camera. The better the negative is the easier it is to work with in the darkroom. In one instance Bryan went through a whole pack of photo paper and spent 4 hours to get one good print.
Red Rock Canyon by Jamie
At the end of the class we had to present a portfolio of six prints to the class. You would think six prints sounds like a small amount for a portfolio until you realize how time consuming and frustrating it is to get one good print. I definitely learned a lot from this class but I think that the difficulty of the class requires more time then just 16 weeks. It took a long time for people in the class to get good negatives, it seemed like there was more experimentation in the dark room than actually shooting the film. I heard that the college is thinking about turning the class into a four part series and that probably is a better idea because there is no way you can learn everything about the zone system in one course, no matter how good the instructor is. I have to give credit to Rager though, he was very patient with us, even when we asked the same questions over and over and over again. I’m sure he’s used to the confusion.
Portrait Photography Class
December 10, 2008
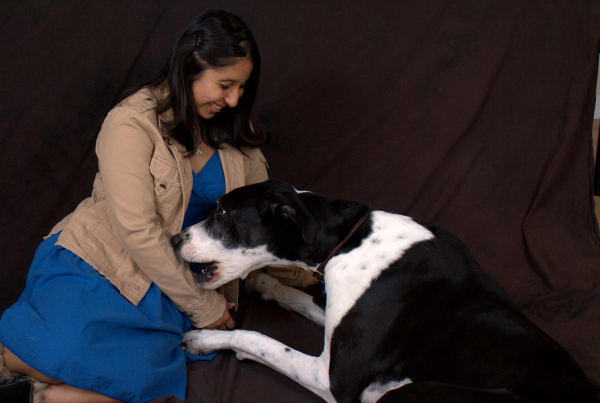
Last night was our final meeting for our Portrait Photography class. We had taken two classes this semester, both ran from 5pm -10pm, with the portrait class meeting on Tuesday’s and our other class meeting on Thursday. Bryan and I both work full time as well as shoot triathlons, so taking these classes really exhausted us. However, I think we learned a lot from both of these classes. I now would like to take a moment to do an overview of our portrait class. This class was taught by Michael Lanoue who we had before in our beginning photo class. He gave us a total of four shooting assignments; environmental portrait, natural light portrait, synchro sun and glamour portrait with a portfolio of work due at the end of the semester.
Galvan Studios
October 11, 2008
This past Tuesday, Bryan and I visited Galvan Studios in Whittier with our Portrait Photography class. Galvan Studios is owned and operated by the husband and wife photography team of Yvette and Roman Galvan. It is located in Historical Uptown Whittier set among unique shops and boutiques. Yvette and Roman welcomed our 20+ student class very graciously. They began by showing us some of their work. Their work consists mostly of portrait and wedding photography. By viewing their photographs you can tell that they have a very unique style. They specialize in capturing real moments in their images. Upon discussing this in further detail, they revealed that they rarely pose their subjects but instead observe their subjects interacting and shoot when the moment is right. They also have mastered the art of composition and using available light. Because of this, their pictures are usually always perfect straight out of the camera and very rarely need tweaking in Photoshop afterwards.
Following their work presentation, they answered a lot of the classes questions and showed us their equipment. They shoot with all Nikon equipment and have been for the majority of their career. The important thing they said that I thought I would mention is that the camera you own is not the most important thing when taking good photos. They said that you do not always have to have the most expensive, high end camera to take great pictures. The most important thing is knowing your camera inside and out and also understanding composition and knowing how to take advantage of the light that is available to you.
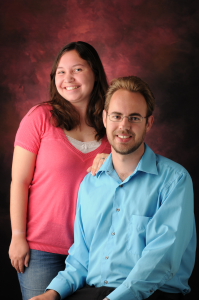
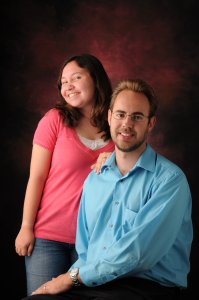
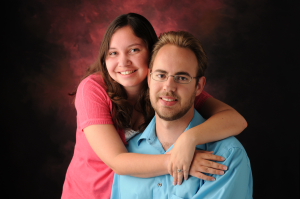
They also showed us how to set up a portrait shot of a couple with their studio equipment. Of course being the photogenic person that I am, I volunteered Bryan and I to be the couple. Now of course Bryan and I didn’t exactly dress to have our picture taken otherwise we would have worn more neutral colors, but I really thought the bright colors that we were wearing really made the photo pop. We’ve never had professional portrait photos taken in a studio so I wasn’t sure what to expect, but I think Yvette did a fantastic job. Not that I would have expected anything less of her, I mean look at their site, their photos are amazing!
Listening to Yvette talk about how she and Roman run the business, especially about what has been successful and what has been not so successful has inspired me to try new things with Shez Photo. One thing I hope to do is to blog more about what’s going on with Bryan and I and our photography. This will coincide with our articles that we normally write with events, I hope to at least have a new entry every week even if we are not covering an event.
Once again I would like to thank Roman and Yvette Galvon at Galvon studios for allowing our class to visit them. I hope to one day do a shoot with them again. If you would like wedding photography, great portraits done of you or you just want to check out their work, the website is www.galvanphoto.com
Long Beach Triathlon 2008 and What I’ve Learned
September 22, 2008
This past weekend was the Long Beach Triathlon. The event took place where most events take place in Long Beach, off of Shoreline Drive near the convention center, aquarium and the Queen Mary. This particular event is our fifth triathlon that we have covered and their are a few things that I have learned since we started.
In covering a triathlon you must first be prepared to wake up early. We arrived at 5am to this triathlon, before most of the athletes even arrived. The picture to the left was taken of the Queen Mary somewhere around the time of 5:30am. Why wake up so early? Well if you want to cover an event, particularly if the event has a course of some kind, it is a good idea to stake it out first. Whether this be the day before the event or in the hours before, this is a good way to find where the best place for good shots are. Bryan and I walked down to where the run course would be and found a great spot for him to take shots of the runners with the Queen Mary in the background.
The second thing I learned; be prepared to risk your life. Now obviously if you have to choose between getting the shot or possible death, please choose life. However, don’t let a little danger get in the way of a good photograph. For example, I staked out a position on a road just ahead of the transition. It was a 2 lane road that was coned off for the event, it was also on a steep incline. People transitioning would ride up the hill to the bike course on Shoreline Drive and when they finished their second loop they would come to a sharp turn which led right back down the same incline. I positioned myself between the cones near the the top of the incline. This was not a problem when bikes were coming out of the transition, as they would have to had taken a wide line to come anywhere near me, however, the bikes coming back from their second loop into the transition for the run almost always took the line of the cones. I want to make something perfectly clear, I was NEVER in the path of an oncoming cyclist, I don’t recommend that. That is not only dangerous for you but very dangerous for the athlete, and the last thing you want to do is put the athlete’s life at risk. There was a chance though that if one of the cyclist didn’t take the turn right and crashed I would have been crashed into. I always tried to have an area that I could move into if that happened. Fortunately that didn’t happen and I came away with some great shots even if the other spectators thought I was crazy.
Usually events such as triathlons are covered by photographers hired specifically by the event coordinators. These photographers are usually given access to the best spots along the course. Don’t think that because you are not the official event photographer that you can’t take the same shots in the same places. At this particular triathlon I got to take almost the same shots as the “official” photographers because I strategically placed myself in these areas. As long as you are not blocking these photographers shots than you can usually get away with being in the same spots. At the finish line there were two “official” photographers sitting at either side of the gates. I simply placed myself behind them, I stood in the middle so they didn’t block my view of the incoming runners and I snapped away. As long as I moved out of the way when the runners came closer to me no one had a problem with me standing there. Don’t assume that everything is off limits, unless the race director tells you otherwise, don’t be afraid to get the shots you want.
Overall, this event went very well. We got a lot of good shots out of the event that we have posted in our gallery. Check out Bryan’s race report at Amateur Endurance.
Aquarium of the Pacific
July 13, 2008
How to shoot at an Aquarium
Step 1: Forget the Flash
When you go to an aquarium it is a courtesy to the sea life to not bombard them with fill flash. Besides the glass on the aquariums will bounce back the light and ruin your photograph. Yes you could shoot at an angle and reduce the bounce back but just be kind to the fishies and forget the flash.
Step 2: Use a fast lens
If you are using a point and shoot then you get to use the lens you have but if you have an SLR then use a fast lens. Another idea is to use a prime because usually these can be even faster then their zoom counterparts. Jamie used a 50mm f/1.8 prime lens on the photo above.
Step 3: Learn to set the ISO
The rule is to bump up the ISO last after everything else has been done to improve shutter speed. So if you are shooting at f/1.8 and you can’t turn on more light (which you can’t at the aquarium) and you can’t use a fill flash and you photos are still blurry then you might need to bump the ISO. The higher the ISO the more noise. With film this will translate to more noticeable grain. Either one is better than blur. Luckily reducing ISO noise is a top priority for the camera manufacturers so as time goes on this will improve.
Step 4: Be patient
Fish and Sea Mammals are not going to pose for the camera so sometimes you just have to be patient to get the shot. Next time you are at an aquarium put these four steps to practice and see what develops.
Be sure to check out our other shots in the gallery.
Self Portraits
November 12, 2007
Have you ever looked back at your photos and realized that you have a lot of pictures of places you have been but none of them have you in the picture? Well this is a common problem. 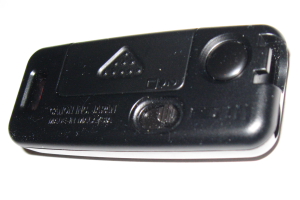
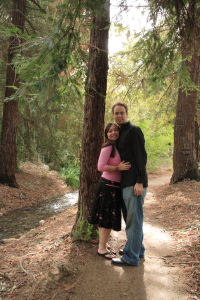
The third solution is the one I like. It involves getting a camera that supports a wireless remote and then purchasing the remote. I use the RC-1 for the Canon Digital Rebel XT. It’s a very simple device that works just like a television remote. It has a small infrared transmitter, a single button, and a mode selector. For the XT you simply put the camera in timer/remote mode and it will look for the remote. You can have the remote take a delayed picture or take the photo right away. I prefer the former as it allows me to hide the remote from the frame of the photo. As you can see in this photo I pretty well hid the remote behind Jamie.
Now the advantages of this method are many. Here are a few of them:
1) You don’t have to run from the camera to the scene
2) If you are the only subject of the photo then now the camera has something to focus on (assuming you don’t set the focus 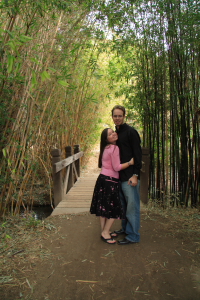
3) You can look way more relaxed in the photo
4) You can get great pictures with yourself in them and still get to claim credit for taking the photo as well
Now using a remote is not without issues. For this remote, since it is infrared, it works via line of sight. I know there are some remote systems that work behind walls/obstructions but those are a little more expensive and your camera has to support it. Other then that it is clear sailing. Look forward to having more photos in your collection that have you in them. I picked my remote up at Samy’s Camera but you can find them anywhere like B&H, Amazon, or NewEgg to name a few of my favorite establishments.


