Photographics: Final Portfolio
June 12, 2009
Our final project for Photographics required us to put together a portfolio of images that we created in the class. The portfolio was to be 8-14 images, mounted with some kind of theme or uniformity to them. Some students chose a flower theme, some did all lumen prints, some did a variety of different tones. I was really impressed with the quality of work from our fellow classmates. Some of them are masters in the darkroom and many have a great eye for composition, most of them blew my portfolio away, they were just so good. Bryan chose to use his best images that he had turned in throughout the semester for his portfolio. I decided to do a batch of fresh images. I took two older film photos and reworked them digitally. For each photo I did a sepia toned image, a sabbatier, an applied color, a high contrast and a lith. The professor and my fellow students liked the idea and thought it was interesting to see a variation on one image side by side. Below is my portfolio.
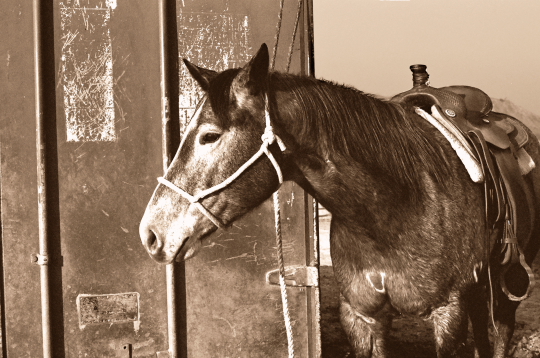
Sepia by Jamie
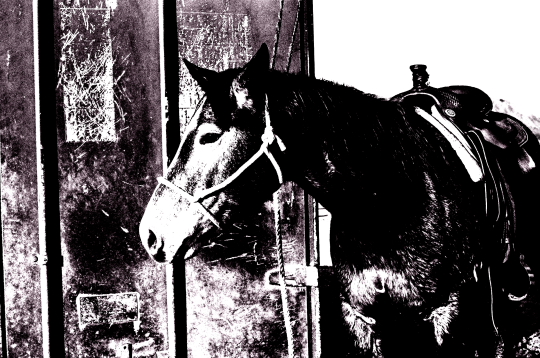
High Contrast by Jamie
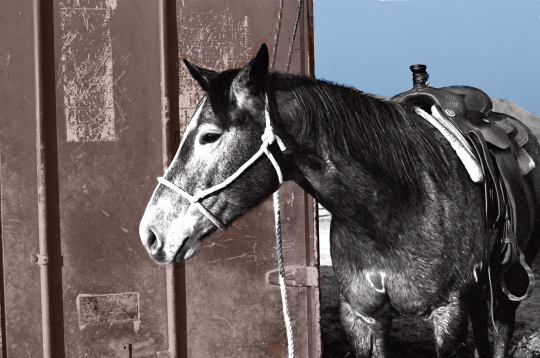
Applied Color by Jamie
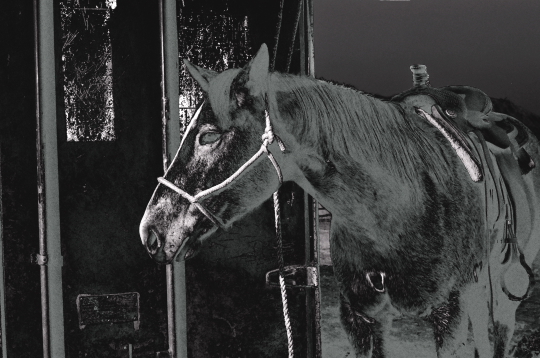
Sabbatier by Jamie
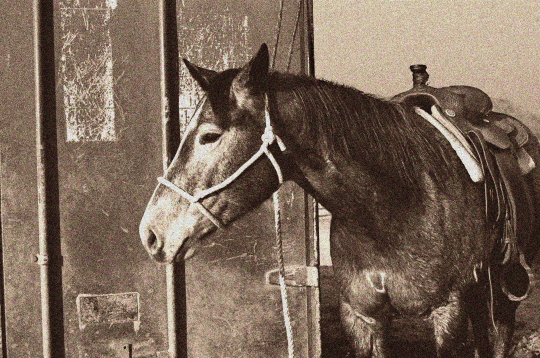
Lith by Jamie
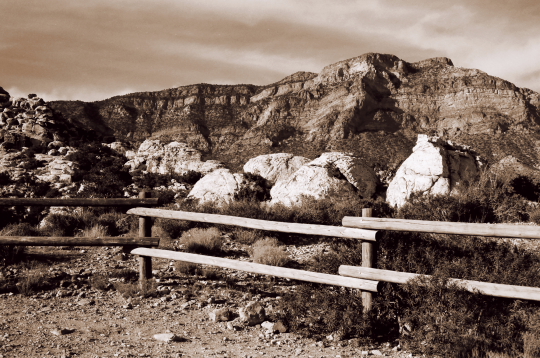
Sepia by Jamie
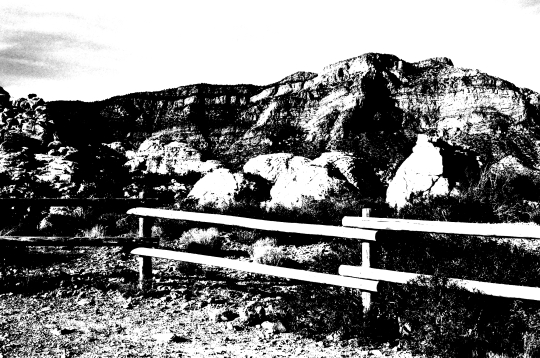
High Contrast by Jamie
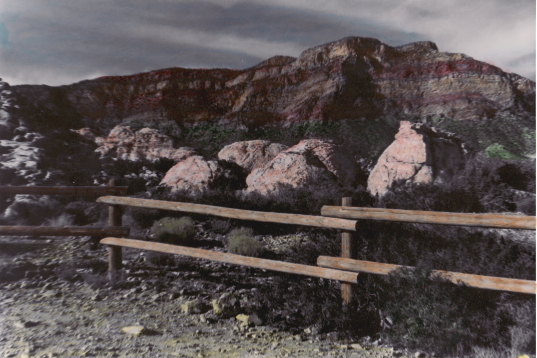
Applied Color by Jamie
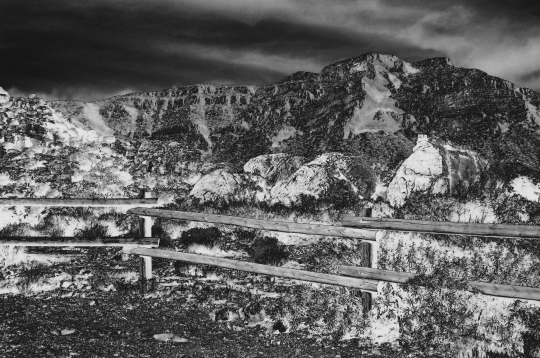
Sabbatier by Jamie
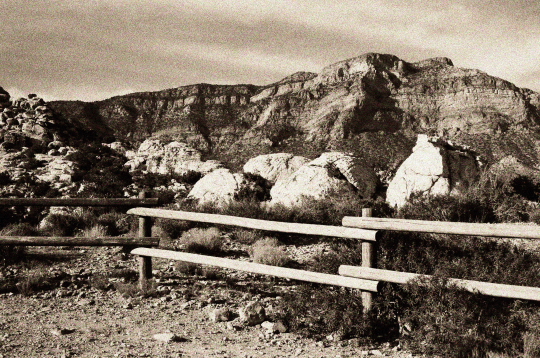
Lith by Jamie
Picture of the Week 6-11-2009
June 11, 2009
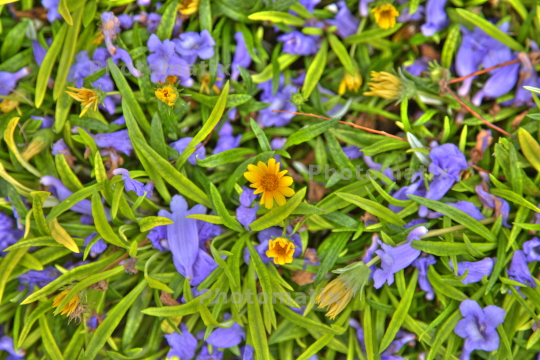
Since I missed a week I wanted this week’s picture to be something special. I had been using my camera’s auto exposure bracketing feature for this shot. I took the images I bracketed and made an HDR (high dynamic range) image. HDR allows you to take multiple exposure shots of a single image and merge them into one image in a photo editing program. There are a few different programs that can do this, I used Photomatix, as you can tell by the water mark on my photo below. Right now I am using the trial version so any HDR’s I create will have that mark. I kind of have a love/hate relationship with HDR, on one hand I love the effect that it creates with images. It is great photo art. On the other hand it tends to look very fake, but if I just look at it as a piece of art, like a painting, I can see it’s value. One of my favorite website’s to visit to see great HDR images is The Windy Pixel, their HDR images put mine to shame even though they use Photomatix as well. Here is my image below, hopefully as I use this program more I will create even more specatcular images.
Photographics: Lith
June 4, 2009
Our last assignment for our class was to do a lith print. Lith printing done in the traditional wet darkroom requires the use of a special developer to produce a print that looks grainy. I don’t quite understand the point of lith printing but the results do have a nice look to them. For our lith prints we once again chose to do them digitally. We first desaturated and sepia toned the images in Digital Photo Professional and than added noise to them in GIMP. We also adjusted the highlights/contrast to get a more lithy look. I really liked the final results of our photo manipulation, it makes them look like old photographs.
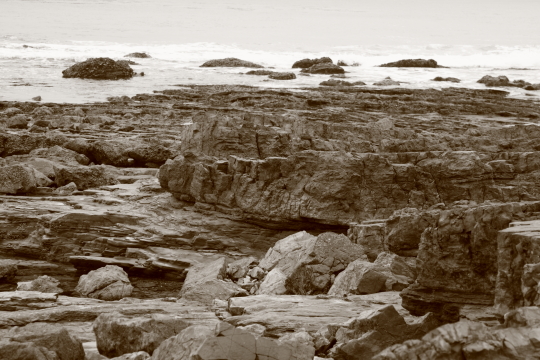
Photo by Bryan
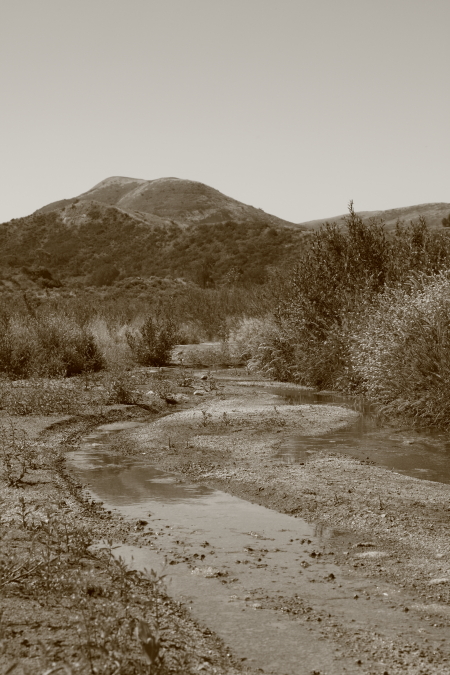
Photo by Bryan
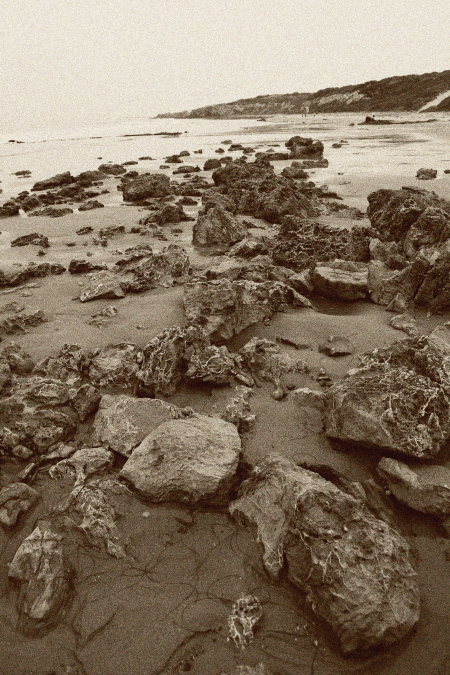
Photo by Jamie
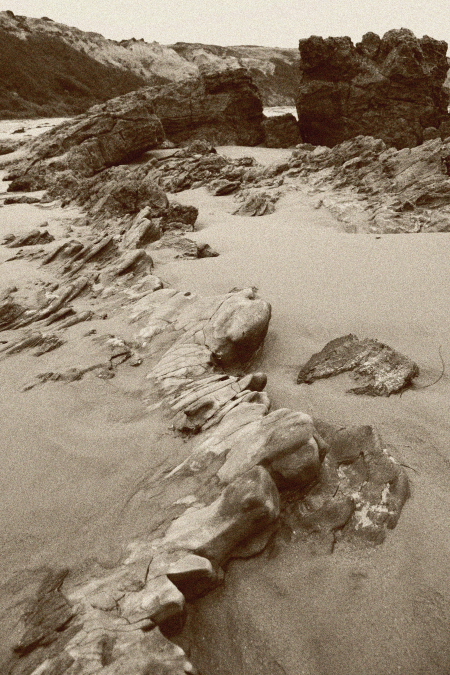
Photo by Jamie
IVHS Dog Walk 2009
June 2, 2009
On Saturday we participated in the annual Inland Valley Humane Society Dog Walk at Bonelli Park. Even though we had attended this event before it had been two years since the last time. Our good friend Sarah is a volunteer for IVHS and actively participates in this event every year. More recently since her daughter Natasha was born she has been celebrating Natasha’s birthday at the Dog Walk since they are both in May. Sarah has set up a team for Natasha for the past three years and has asked people to donate to Team Natasha in lieu of gifts. This has been very successful for fundraising, Natasha’s team is usually one of the highest fund raiser’s for the event. Last year, Natasha’s team was in the lead to be the top fundraising team, however, another team came in at the last minute and took victory over Natasha. If you know Sarah you know that she couldn’t let that happen two years in a row so she started fundraising very early this year and her efforts paid off because Natasha not only won top fund raising team but also won top fund raising youth. Because this event was also a celebration of Natasha’s third birthday Sarah went all out with the party favors. She made white chocolate paws with Oreo cookies inside and also cupcakes with tons of frosting and little white chocolate dog bones on top.
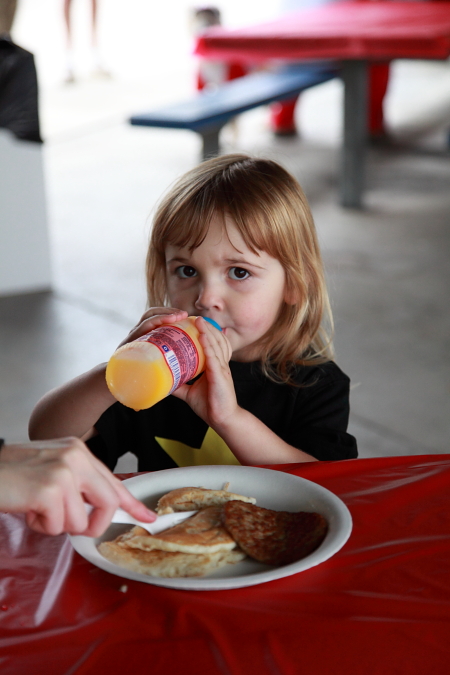
Natasha annoyed at the paparazzi
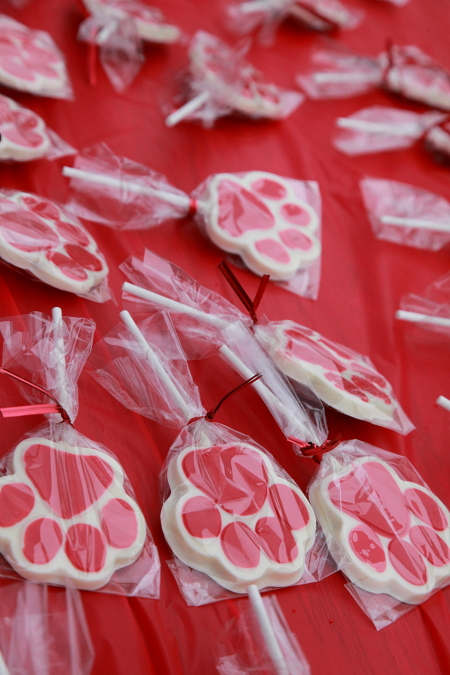
Home made party favors

Cupcakes!
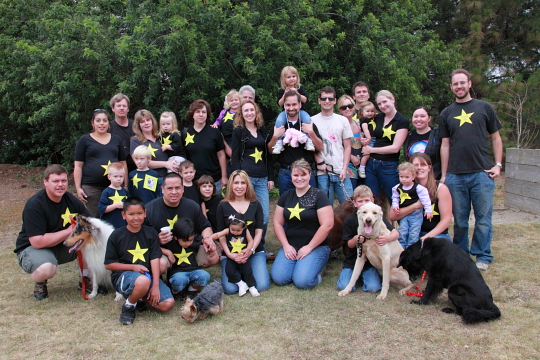
Team Natasha
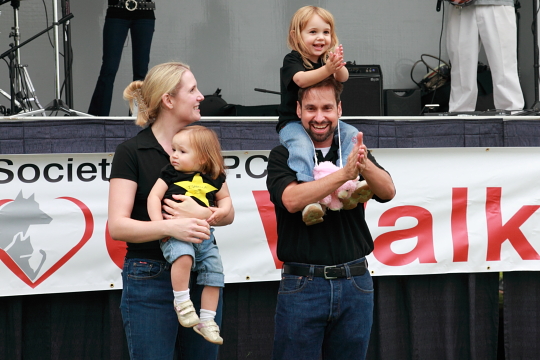
Happy Birthday Natasha!
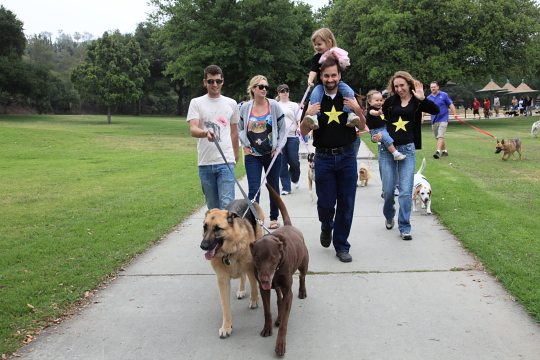
Aisha and her Wizard
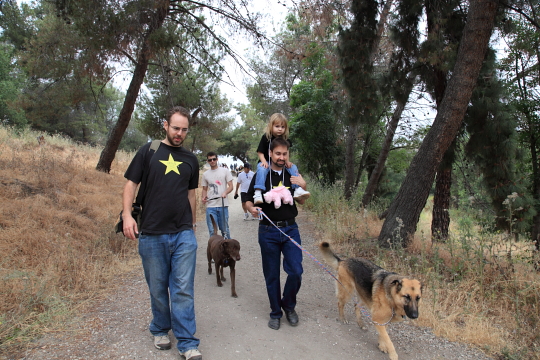
More walking
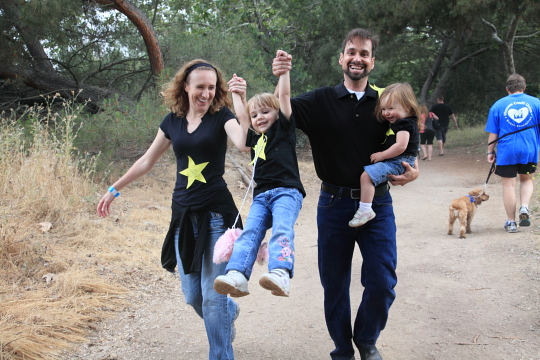
Jen, Natasha, Mark & Isabella
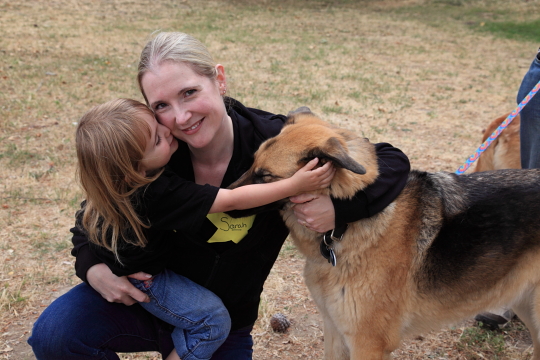
Natasha, Sarah & Aisha
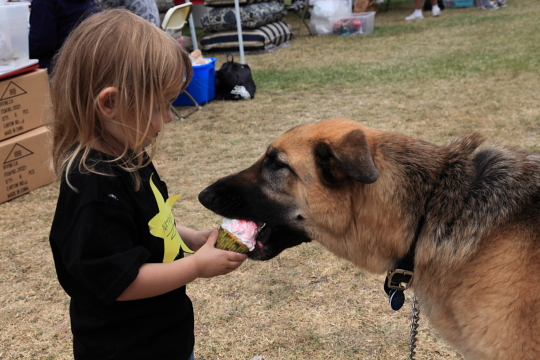
Aisha eating her cupcake
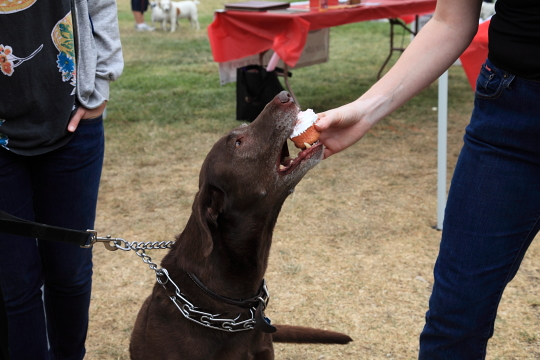
The Wizard eating his cupcake
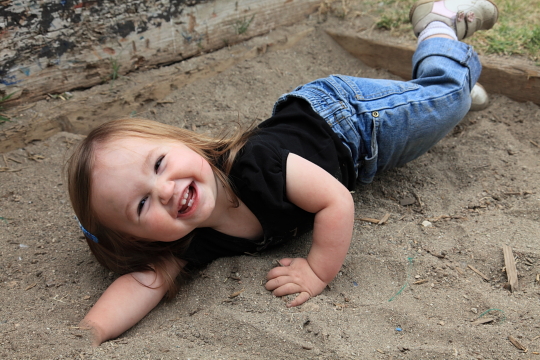
Isabella
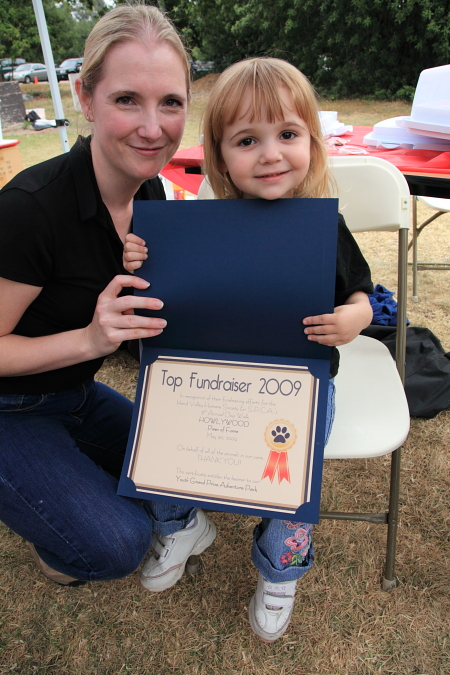
Natasha wins!
Photographics: Lumen Prints
May 29, 2009
For one of our class projects we were required to do lumen prints. Lumen prints are very simple to do and the end result is very cool. To do a lumen print you first take a piece of photo paper, fiber or RC, out in direct sunlight and then proceed to put objects on the paper to create a design. Depending on the amount of sunlight available you would leave these pieces of photo paper out for a few hours. The minimum would be about three hours but some of our fellow students left them out for up eight hours. After waiting you would then take your exposed photo paper and put it straight into the fixer and watch your image appear. For our lumen prints we used cold toned, glossy RC paper. We used Bryan’s grandparents backyard along with a few of their garden plants to make our images. It was overcast that day and kind of windy. We used large pieces of Lexan to hold the flowers and leaves down on the photo paper and let it expose for four and a half hours. The great thing about lumen prints is you never know what colors or shades you will get once you put the paper in the fixer. Each image is truly one of a kind. Our classmates images looked totally different from our images below. Some got deep browns, oranges, reds, yellows, and even purples. I really enjoyed this project and hope I get the chance to do it again.
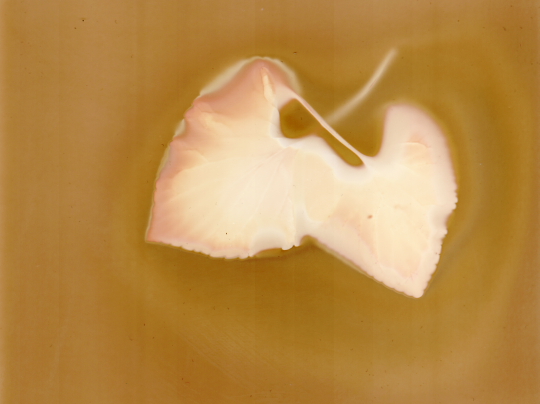
Print by Bryan
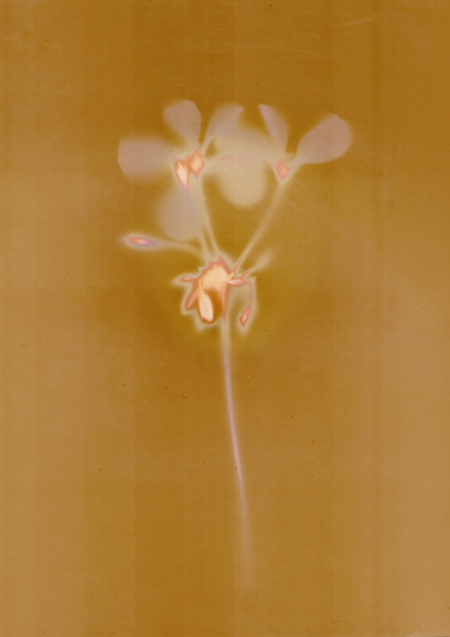
Print by Bryan
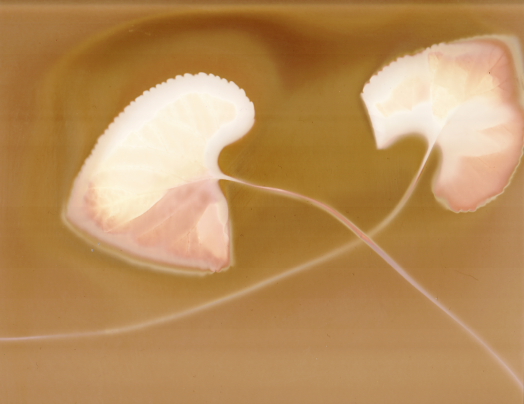
Print by Jamie
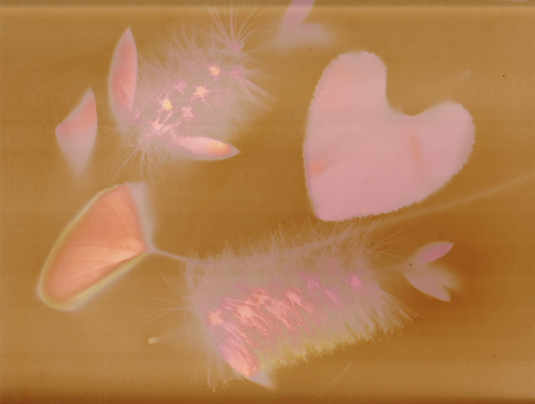
Print by Jamie
Picture of the Week 5-28-2009
May 28, 2009
For this week’s photo I decided to go back in time, way back to July of 2004. Bryan and I, along with his brother and cousin went on a mission trip to London, England for a whole week. At the time Bryan and I only had point and shoot film cameras so we decided to buy our first digital camera for the trip. We chose a 3 megapixel Vivitar that cost us about $100. At the time we weren’t thinking about being serious photographers plus that was all we could really afford. The pictures that we brought home weren’t great but they were decent. The picture below is one of my favorite photos I took on the trip. It shows the London Eye and the River Thames with nice white puffy clouds in the sky. I hope one day to go back to London with our Mark II and take this shot again.
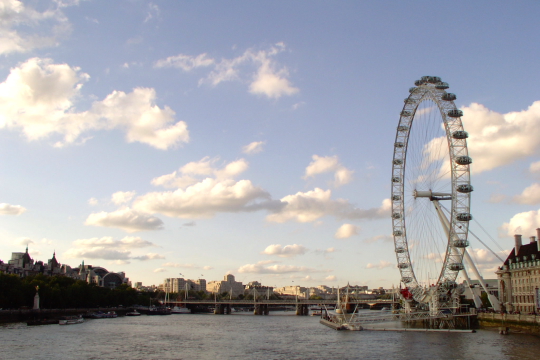
Photo Info: Taken with a Vivitar DC3320, ISO 100, F43.5 at 1/197 of a second.


