Picture of the Week 5-28-2009
May 28, 2009
For this week’s photo I decided to go back in time, way back to July of 2004. Bryan and I, along with his brother and cousin went on a mission trip to London, England for a whole week. At the time Bryan and I only had point and shoot film cameras so we decided to buy our first digital camera for the trip. We chose a 3 megapixel Vivitar that cost us about $100. At the time we weren’t thinking about being serious photographers plus that was all we could really afford. The pictures that we brought home weren’t great but they were decent. The picture below is one of my favorite photos I took on the trip. It shows the London Eye and the River Thames with nice white puffy clouds in the sky. I hope one day to go back to London with our Mark II and take this shot again.
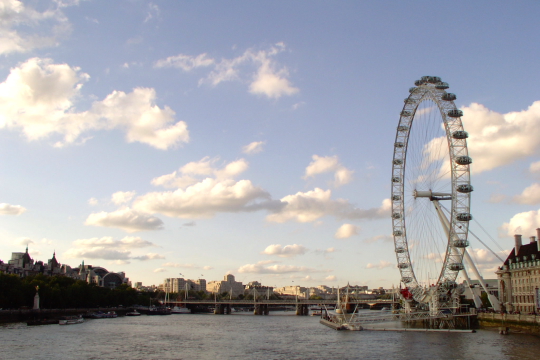
Photo Info: Taken with a Vivitar DC3320, ISO 100, F43.5 at 1/197 of a second.
Picture of the Week 5-20-2009
May 20, 2009
Last Saturday we went on a field trip with our Photographics class to Crystal Cove. We got there early, around 8:30 am. As per usual the sky along the coast was overcast. Even though it’s nice to have “open shade” type lighting for outdoor photos the gray clouds made many of our images look dull. Despite this I loved photographing at the beach, the rock formations make for great shots. We also climbed between a few of these rocks and took a few photos of some tide pool creatures including a baby seal. The photo from this week was shot by Bryan and it shows the beautiful rock formations that make this particular beach so photogenic.
For more photos from our field trip check out our GALLERY.
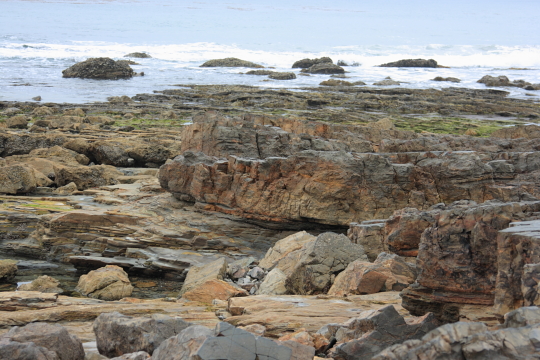
Photo Info: Taken with the Rebel XTi at ISO 100, F4 at 1/160 of a second.
Black Star Canyon
May 17, 2009
Lately I have been searching for fun things to photograph. I’ve been wanting to go to new places that we have never photographed and that most importantly were cheap or free. I generally search the OC Register’s events page to find outdoor activities which led me to the Irvine Ranch Wildlands website. If you recall we also found our kayak tour through this website. It’s a really fantastic place to find outdoor activities in the Orange County area. I ended up finding a photo hike in Black Star Canyon which we went on this Sunday. The tour was led by Andre Torng who is a volunteer for Irvine Ranch Wildlands and photographer. Our group consisted of about eight people who were mostly amateur photographers and hobbyists. We started out at the Black Star Staging Area at about 8:30 in the morning and headed down the trail toward the canyon. As we walked Andre gave us tips and pointers about composition and helped us choose camera settings. The main feature of the canyon are the huge red rocks, these rocks aren’t as glorious as the one’s we visited at Red Rock Canyon in Las Vegas but they are nevertheless a beautiful landmark. We hiked for about two hours on a very easy trail but it soon got hot and we headed back. It was a lot of fun to get outdoors and photograph some great scenery with other photographers and I think we got some great shots. If you are interested in a photo hike or just some fun outdoor activities check out Irvine Ranch Wildlands. Their activities do fill up quickly so make sure you get your spot.
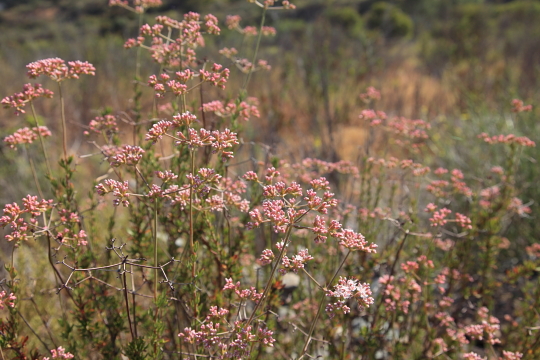
Photo by Bryan
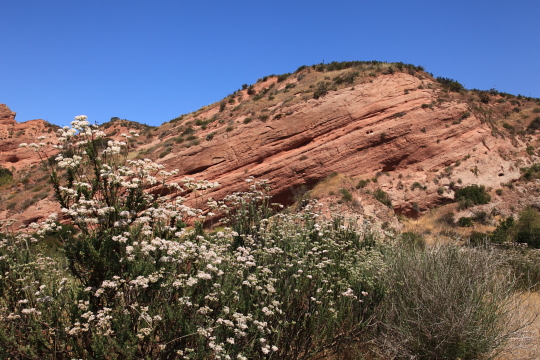
Photo by Bryan
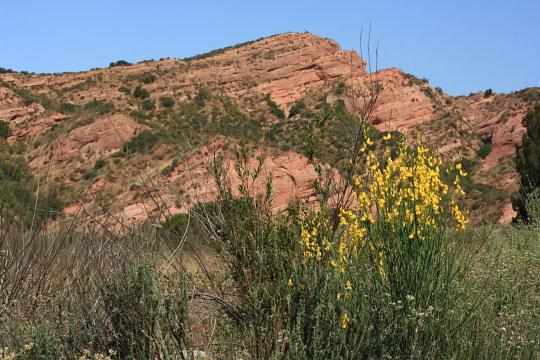
Photo by Jamie
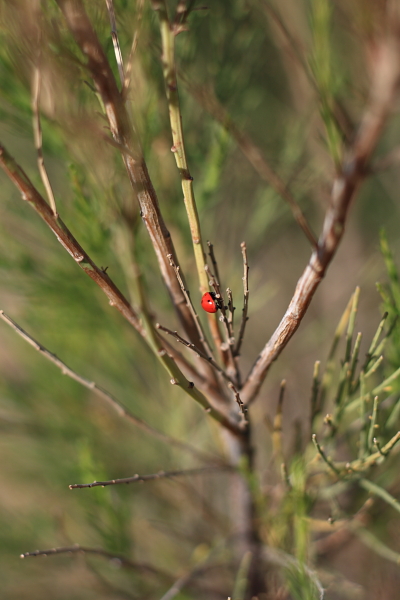
Photo by Jamie
Picture of the Week 5-13-2009
May 13, 2009
Here is yet another photo from my new favorite place the Laguna Seca Recreation Area in Monterey. Look at that tree! I can’t get over how beautiful that tree is. After looking at this image I realize that it kind of looks like I used a polarizing filter, I assure you I was not. In fact this is a straight out of the camera image, no adjustments whatsoever to the color or exposure. I used the 24-105 F4L kit lens that came with the Mark II, this is quickly becoming my favorite lens. It takes the most beautiful shots. That lens is definitely worth it’s cost.
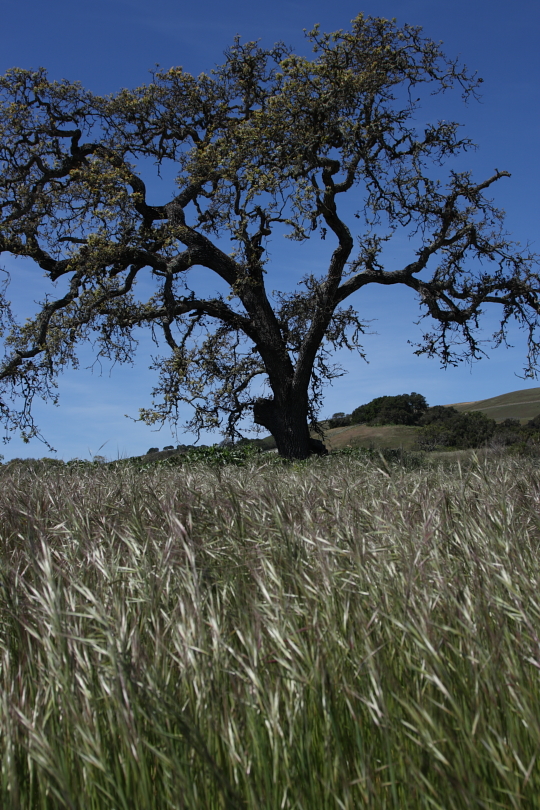
Photo Info: Shot with the Canon Rebel XTi at ISO 100, F8 at 1/400 of a second.
Picture of the Week 5-7-2009
May 7, 2009
So I’ve been kind of a flake lately and completely forgot about my weekly pictures. I promise to stop being lame in the future. This week’s photo is one of my favorites that I took on Day Two of the Sea Otter Classic. This was the day that we went to the beautiful Laguna Seca Recreation Area for the Super D. I love the colors in this photo and I really like the composition I chose for it. I hope to visit this place again so I can focus on doing more landscape shots.
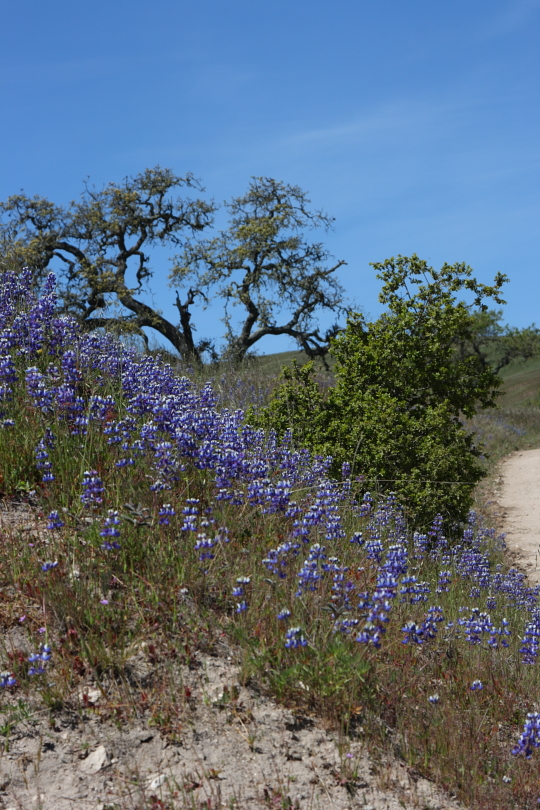
Photo Info: Taken with the Canon Rebel XTi, ISO 100, F8 at 1/400 of a second.
Photographics: Sabbatier
May 3, 2009
Sabbatier or solarization is an effect in printing in which the tones of the photograph are reversed. For our sabbatier project we were given the choice of either doing the print digitally or in the darkroom. For those of you who are not familiar with the wet darkroom I apologize if you get lost. To get a black & white sabbatier print in the darkroom you would expose a negative normally on photo paper using variable contrast filters. The first time you expose the paper you would only develop it in the developer solution for a short time, then put it in the stop bath and rinse it off. You would then squeegee off the excess water on the print and return it to the enlarger. However, this time you take the negative out of the enlarger and stop the enlarger lens down 1 stop and put the print under it for 1-2 seconds. Then you would just develop, stop, fix and rinse as normal. This process should produce a nice solarized print but depending on your taste you can vary up the exposures. Solarization is much simpler to do digitally, which is how Bryan and I chose to do it. We used GIMP to solarize our images. To solarize a color photo in GIMP you would first desaturate the image so it turns black & white, you then go into curves and change the diagonal line into a “U” shape. After this all you have to do is mess with the contrast a little and there you have it: Sabbatier. Below are our sabbatier images.
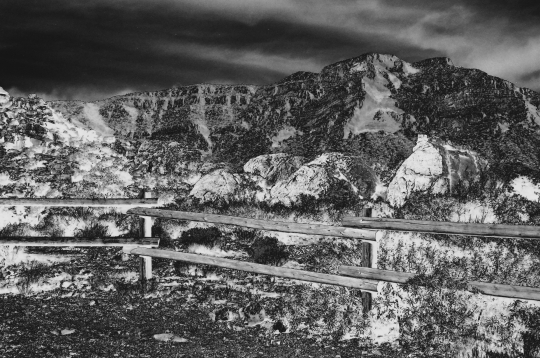
Photo by Jamie
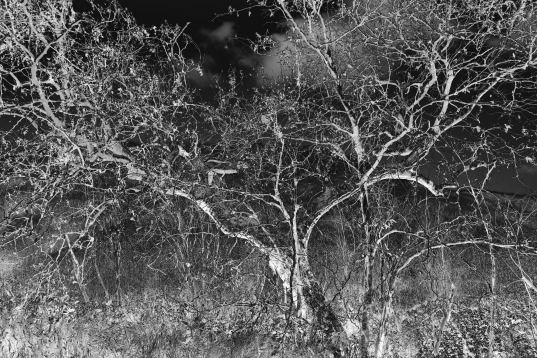
Photo by Jamie
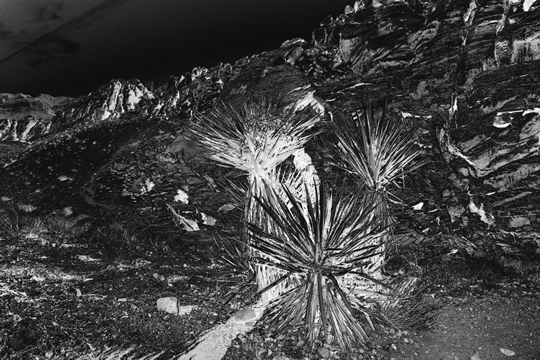
Photo by Bryan

Photo by Bryan


