Monterey Bay Aquarium
April 25, 2009
On the last day of our vacation earlier this week we headed down to Cannery Row in Monterey Bay. Cannery Row is a very interesting place full of shops, restaurants and of course the Monterey Bay Aquarium. We got to the aquarium when it first opened and since it was a Monday we figured it wouldn’t be so busy. Well it happened to be “locals get in free” day so the place was actually packed. We have visited this aquarium before back in 2006 for our one year anniversary but back then we only had a little Canon point-and-shoot so we didn’t get any fantastic photos. This time I took the Mark II while Bryan used the XTi. I was debating which lens I would use for this occasion. I couldn’t really decide if I wanted the 24-105 F4L which would give me macro and zoom capabilities but would not allow me to really open up the aperture or the 50mm F1.8 which didn’t allow me to zoom or do macro but allowed for a more open aperture. Ultimately I chose to use both, I just put one lens on my camera and the other on Bryan’s and constantly switched off. I used the 24-105 F4L for mostly wide angle shots such as stuff we took outdoors or huge tanks. When the light was really low I just bumped up the ISO, I shot a lot at ISO 4000-5000 but there were moments when I as shooting up to 25,000 ISO. I tried to use the 50mm 1.8 the most in really low light situations however, there were times where it was too dark for the camera to figure out what I was trying to focus on so it wouldn’t take the photo. In that case I just switched my camera to video mode and took a movie. I love the Mark II.
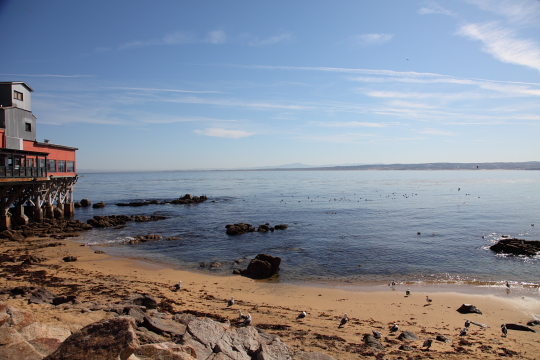
Monterey Bay
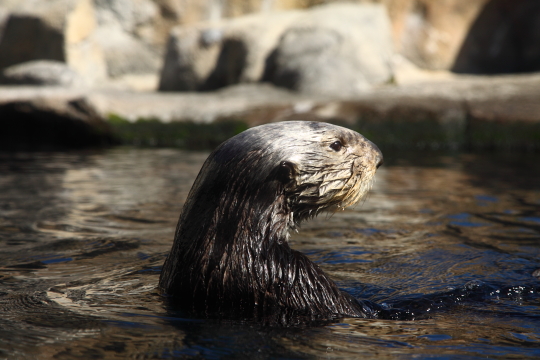
Sea Otter
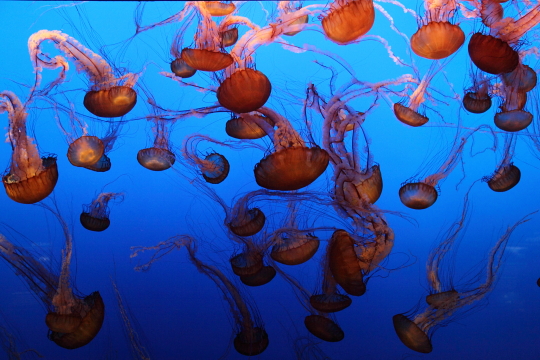
Jellyfish Tank
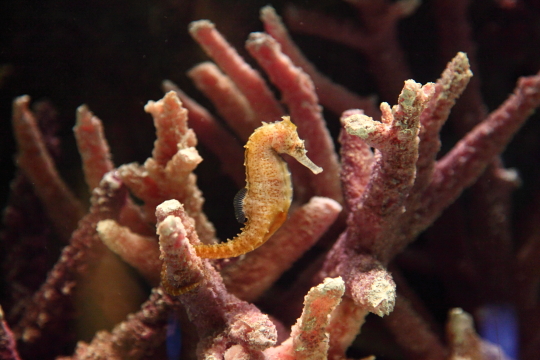
Sea Horse
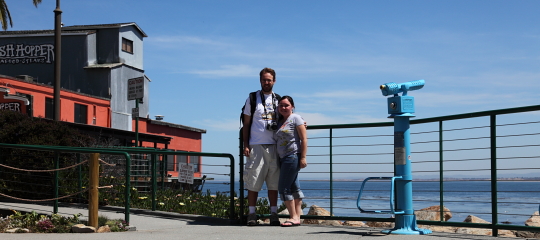
Bryan and Jamie
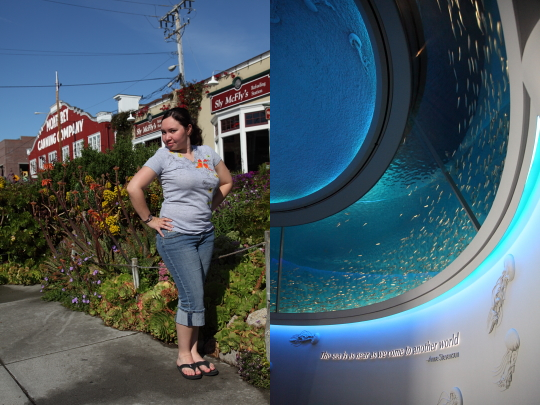
Left: Jamie Right: Outer Bay
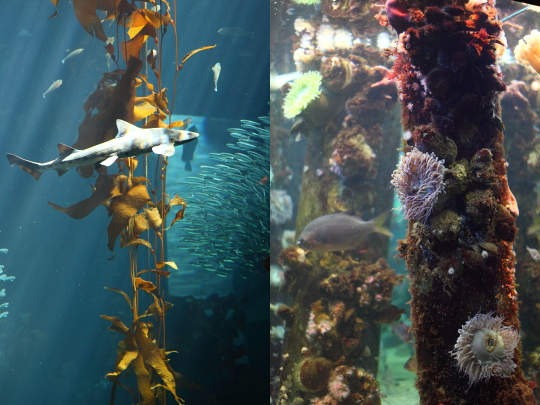
Left: Kelp Forest Right: Ocean's Edge
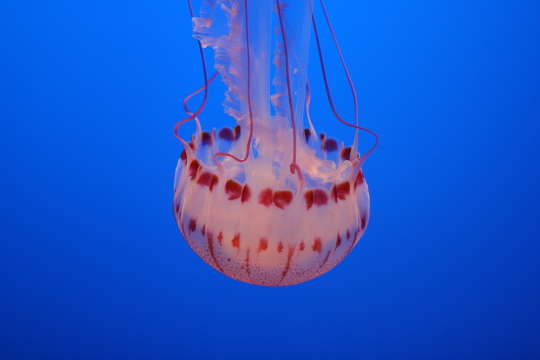
Jellyfish
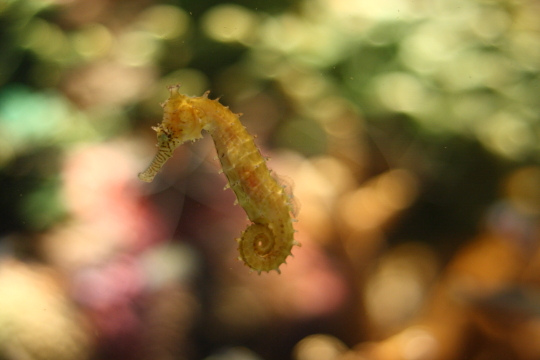
Sea Horse
Photographics: Infrared
April 23, 2009
One of the more interesting assignments we were given this semester was to turn in an infrared assignment. This could be be done in one of three ways; shoot a roll of infrared film, shoot infrared digitally with various filters or create a infrared image in Photoshop. We opted not to shoot a roll of infrared film for a couple of reasons. One reason is that Bryan’s Canon A2E will not shoot infrared (more on that later). My old Pentax camera did have the ability to shoot infrared film however if you know anything about IR film you know that it is very sensitive. You have to load the film in the camera in complete darkness. Doing anything in complete darkness is not a skill I have, except for loading film onto a spool for development. I also played around in GIMP trying to create a IR image out of a regular color image, while the results were passable they just weren’t infraredy enough. I know infraredy is not a word neither was ginormous a few years ago. We chose to do the assignment digitally however our Mark II doesn’t have the ability to shoot infrared. The majority of Canon SLR’s can not because of a low pass filter that Canon installs in their camera’s to get sharper images. Canon Film SLR camera use an infrared light to see the notches in the film so it would fog infrared film. During the class lecture on infrared Lanoue mentioned that the Canon G9 had the capability to shoot in IR. This was great since my coworker happened to have a G9 that he let us borrow. We had to by an infrared filter for it but that was much less than if we would have had to buy the G9.
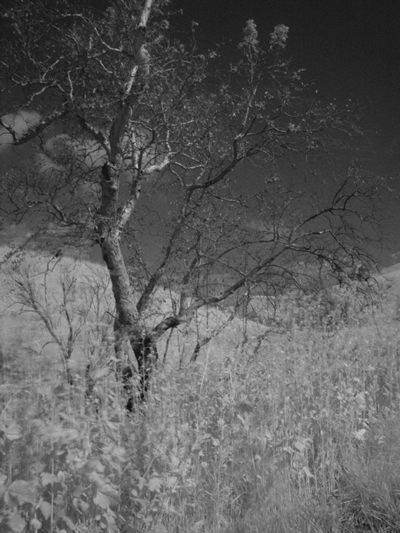
Photo by Jamie
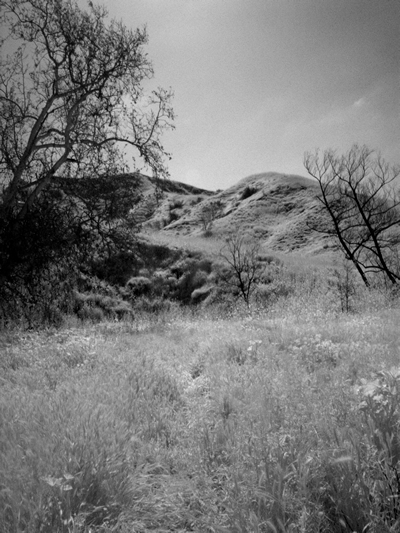
Photo by Bryan
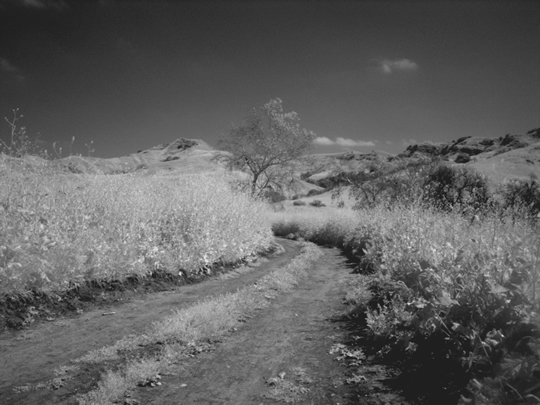
Photo by Jamie
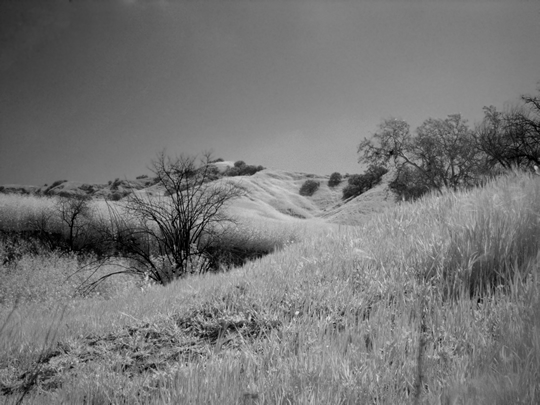
Photo by Bryan
Picture of the Week 4-22-2009
April 22, 2009
This week’s photo is a shot that Bryan took at the Sea Otter Classic. The photo shows a Downhill competitor in mid-air speeding down the hill. I really like that Bryan caught the exact moment where the cyclist jumped. Also I love the leading lines, he did a great job on the composition. This is one of thousands of photos we took at the Sea Otter Classic so check back soon to see our gallery of photos of the entire event.
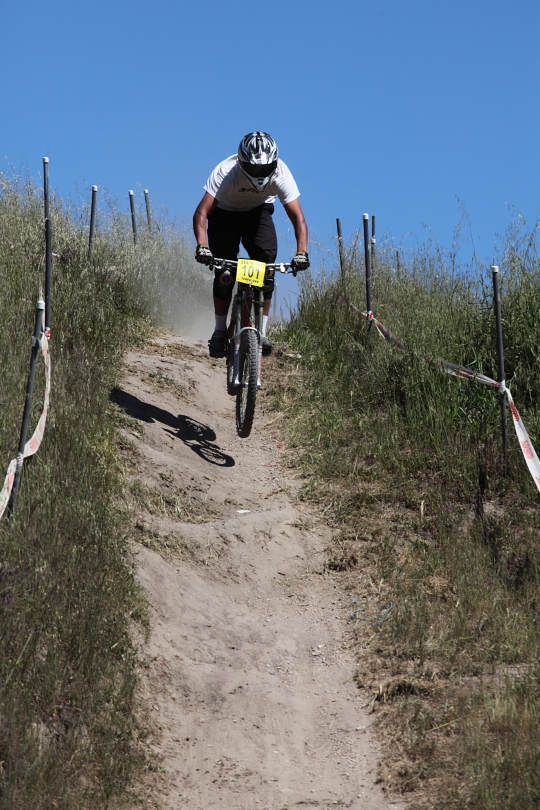
Photo Info: Taken with the 5D Mark II with 70-200mm F4L lens. ISO 400, F8 at 1/2000 of a second.
Picture of the Week 4-8-2009
April 8, 2009
This past weekend Bryan and I had a class field trip originally set to be in Limestone Canyon. Those plans ended up falling through so professor LaNoue took us instead to nearby Silverado Canyon. Silverado Canyon is a popular place for hiking and mountain biking. LaNoue originally wanted us to go on a more level trail which Silverado is not. We only walked up for a little while before we decided to turn around. As far as scenery goes Silverado Canyon is bleak, there aren’t many wildflowers but you do get nice views of the canyon when you go up further on the trail. This week’s photo is one that Bryan took as we were going down the trail. A couple mountain bikers road by us on the way down which I have to say is pretty crazy since the trail has a lot of loose rocks. We ended up having a nice time photographing and got some exercise too.
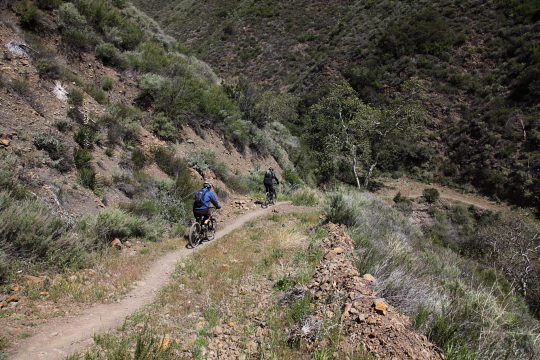
Photo Info: Taken with our 5D Mark II at ISO 200, F8 and 1/800 of a second.
Picture of the Week 4-1-2009
April 1, 2009
This week’s photo is a shot that Bryan took during our photo hike through Chino Hills State Park. Well actually I hiked and he rode his mountain bike. It has been about 4 months since the fire burned 90% of the park. The only evidence of the fire are a few charred trees but the wildflowers have really grown like crazy and made for beautiful landscape shots. I like the photo that Bryan chose of burned tree in front of a wall of yellow wildflowers. What a great place to photograph.
To see more pictures of Chino Hills State Park, check out our GALLERY.
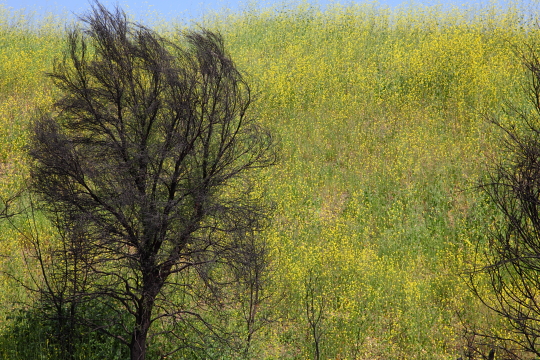
Photo Info: Shot with our 5D Mark II. ISO 160, F9, at 1/250 of a second.
Photographics: Applied Color
March 27, 2009
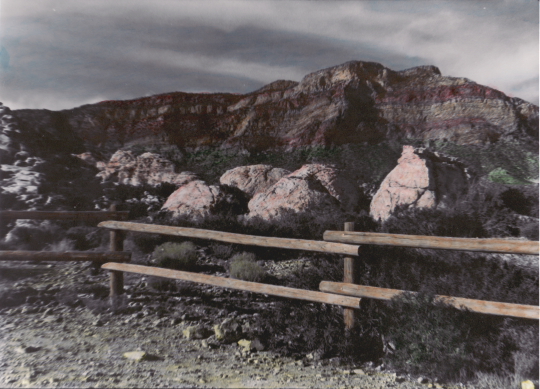
Red Rock Canyon by Jamie
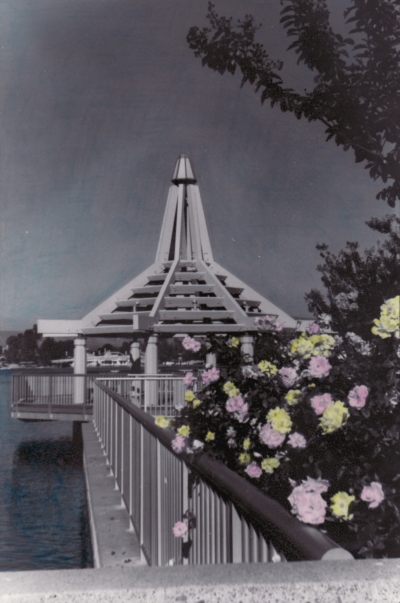
North Lake by Jamie
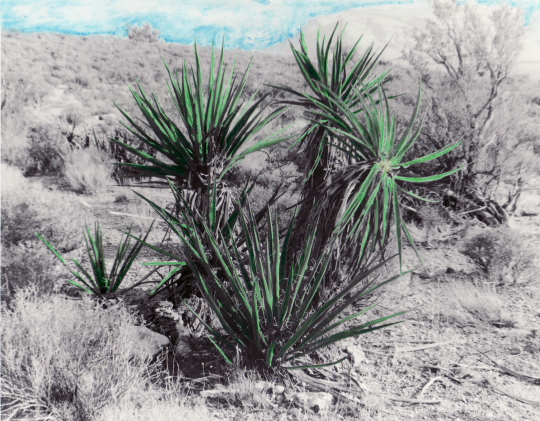
Desert by Bryan


